Release Mechanism video.
Flight Videos.
- Download for wing/tail drawing here, print with no border or page scaling, there are two templates one for BT-20, one for BT-50, wing root should be 6″ long for the small version and 8″ long for the larger version. Download
- For the BT-20 version you will need a 5.5″ bt-20 tube, and the medium length parabolic cone from this set:
- For the BT-50 version you will need an estes Alpha kit with plastic nose cone and 7.75″ body tube.
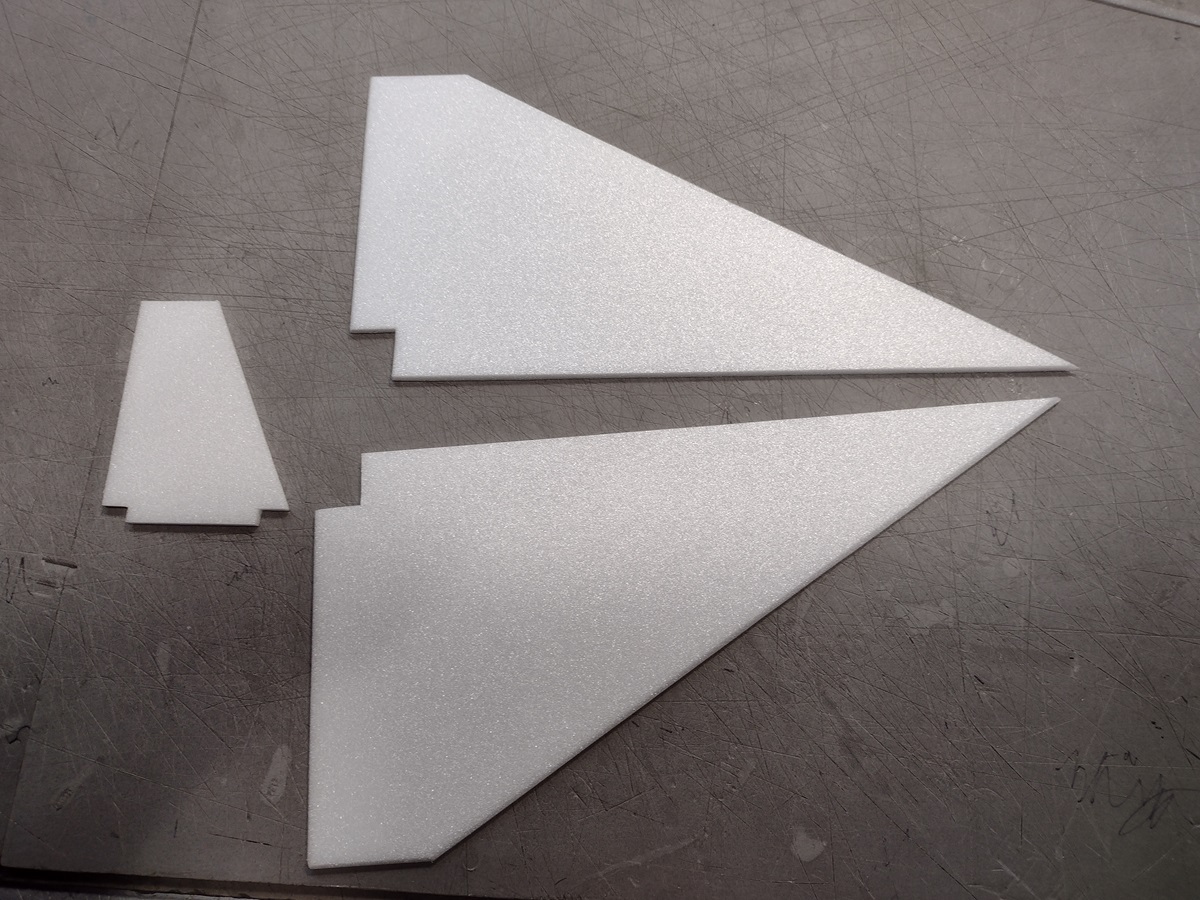
- Cut out the wing and tail for the size you want to make.
- Cut light bevels on both sides of the leading/trailing edges of wings and stabilizer
- Cut a very light bevel on each root edge of the wing.
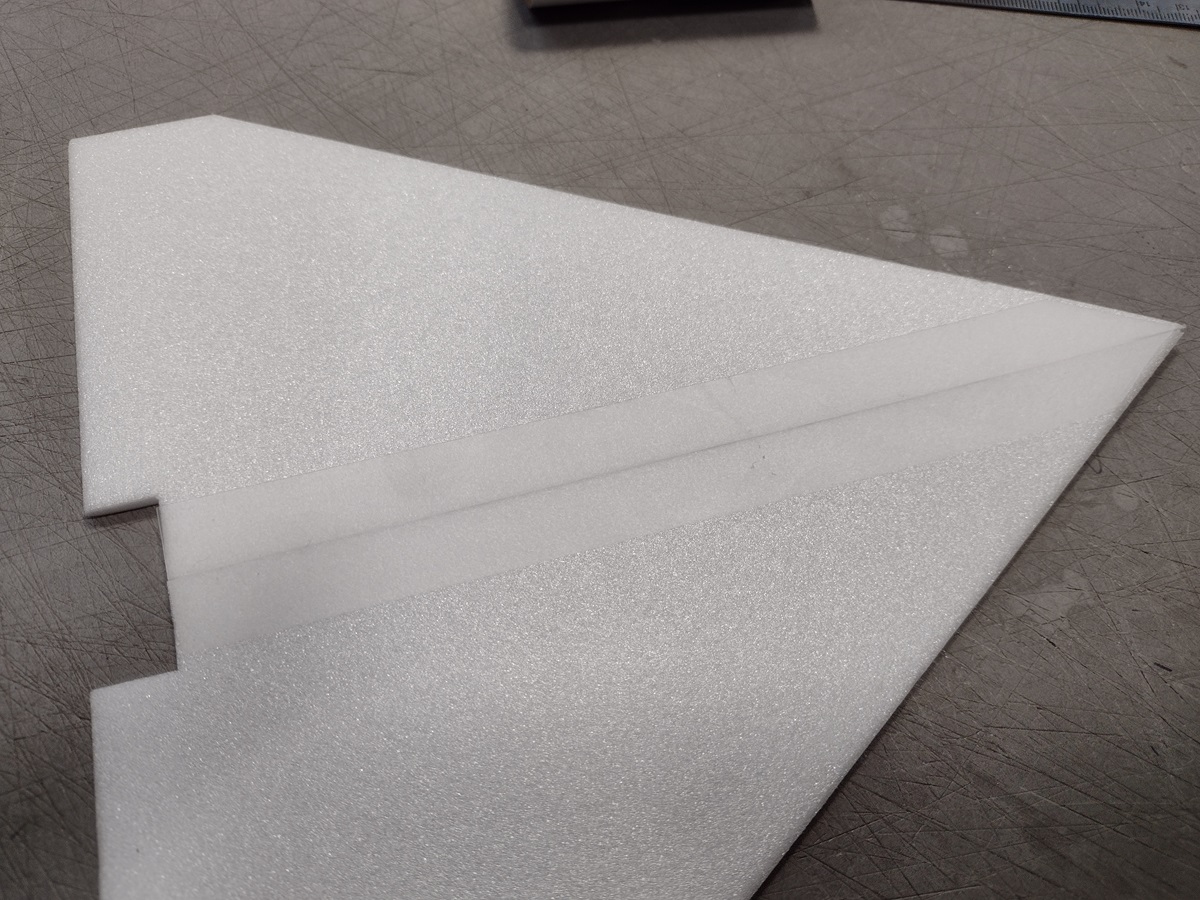
- Use some blenderm tape to tape the bottom of the wing halves together.
- If you get the stickershock decals for the Orbiter, these will fit the BT-50 version only, cover the body tube with the white vinyl which will leave a gap on the bottom of the tube for gluing to the wing, then trim off the front and rear even with the body tube.
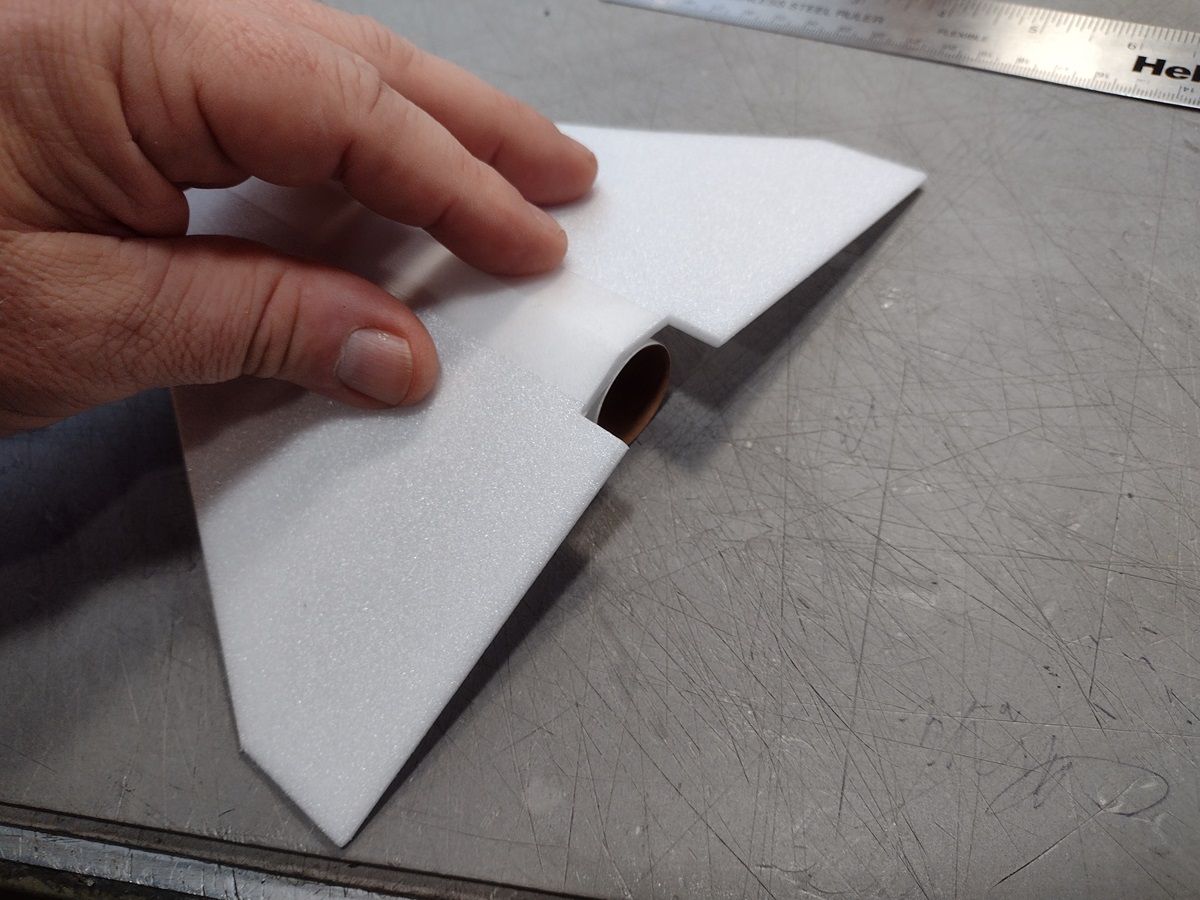
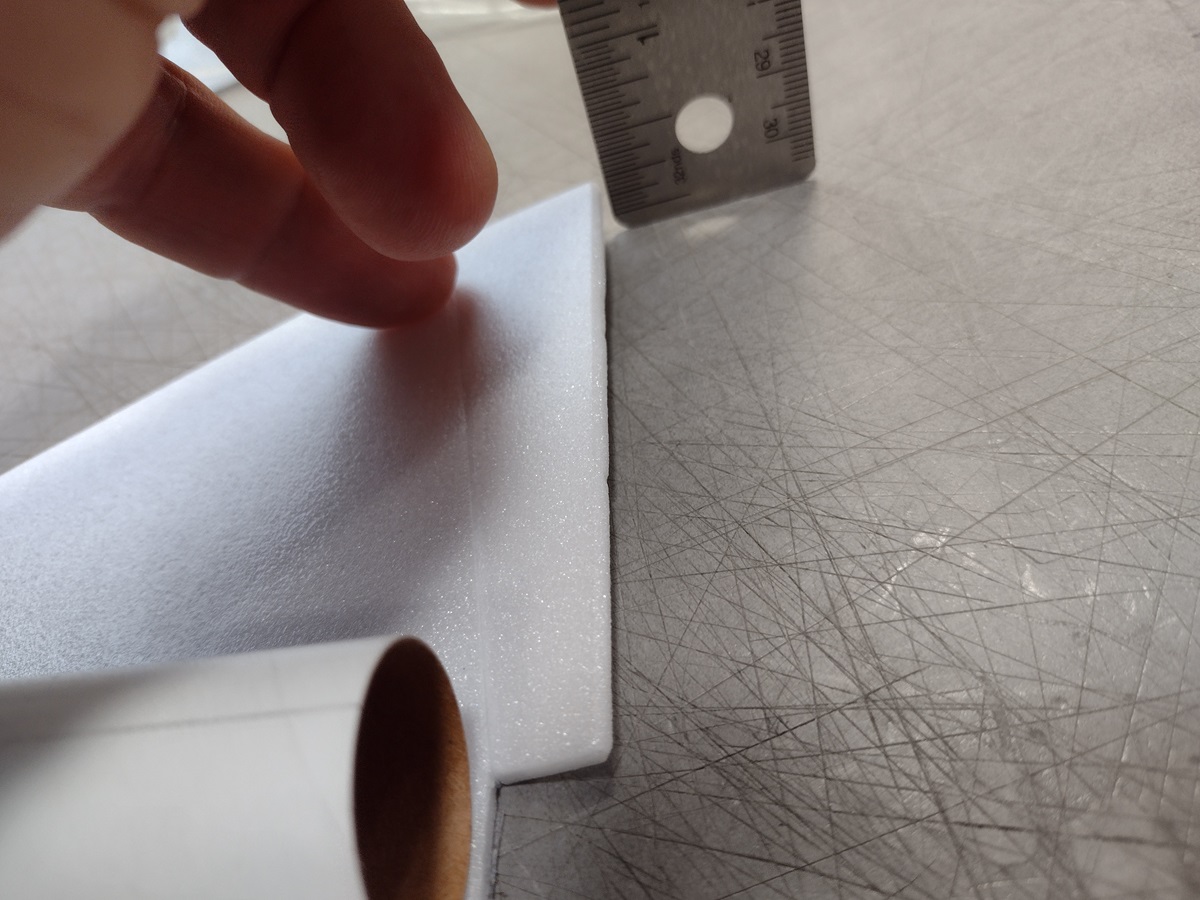
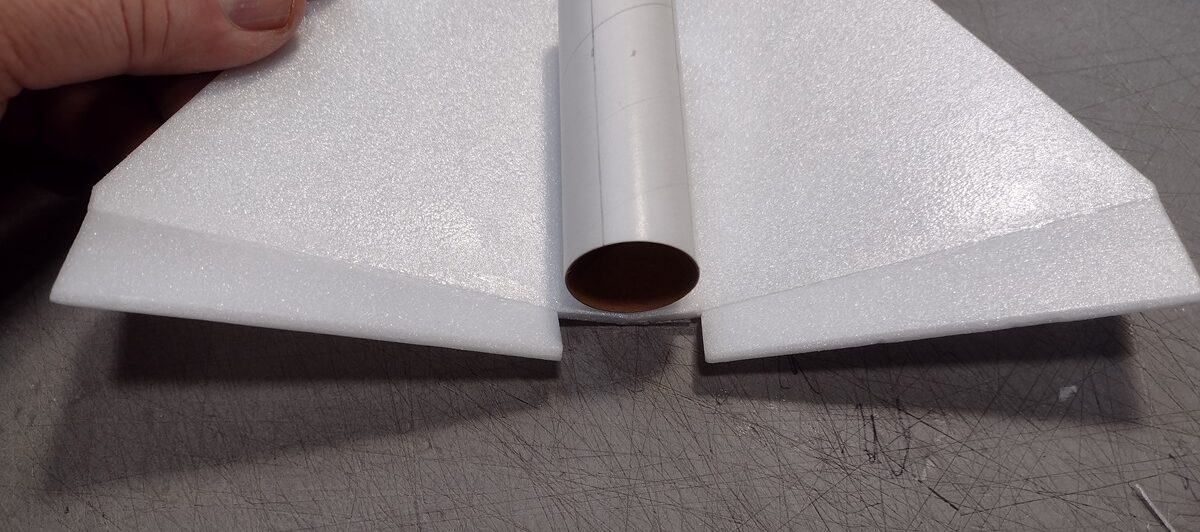
- Flip the wing over and glue to the bottom of the body tube with the cutout in the wing even with the rear of the body tube for BT-20 and rear of tube even with the TE of the elevons for the BT-50 tube. The wing tips should touch the table top. This sets the proper dihedral.
- Cut out the elevons and put a mild bevel on each leading edge.
- Use some thin strips of Blenderm tape on the bottom of the joint for the elevon to hold them attached to the wing.
- Glue each elevon back to the trailing edge of the wing so that the trailing edge at the tip is raised about 1/4 to 5/16″
- Cut a slot into the body tube for the stabilizer tab and glue it in place keeping it vertical when both wingtips are raised the same amount on each side.
- Nose cone is mounted in the nose, you can glue in place after balancing. For the BT-50 cone I cut off the shoulder of the nose cone except for 1/4″ to save weight.
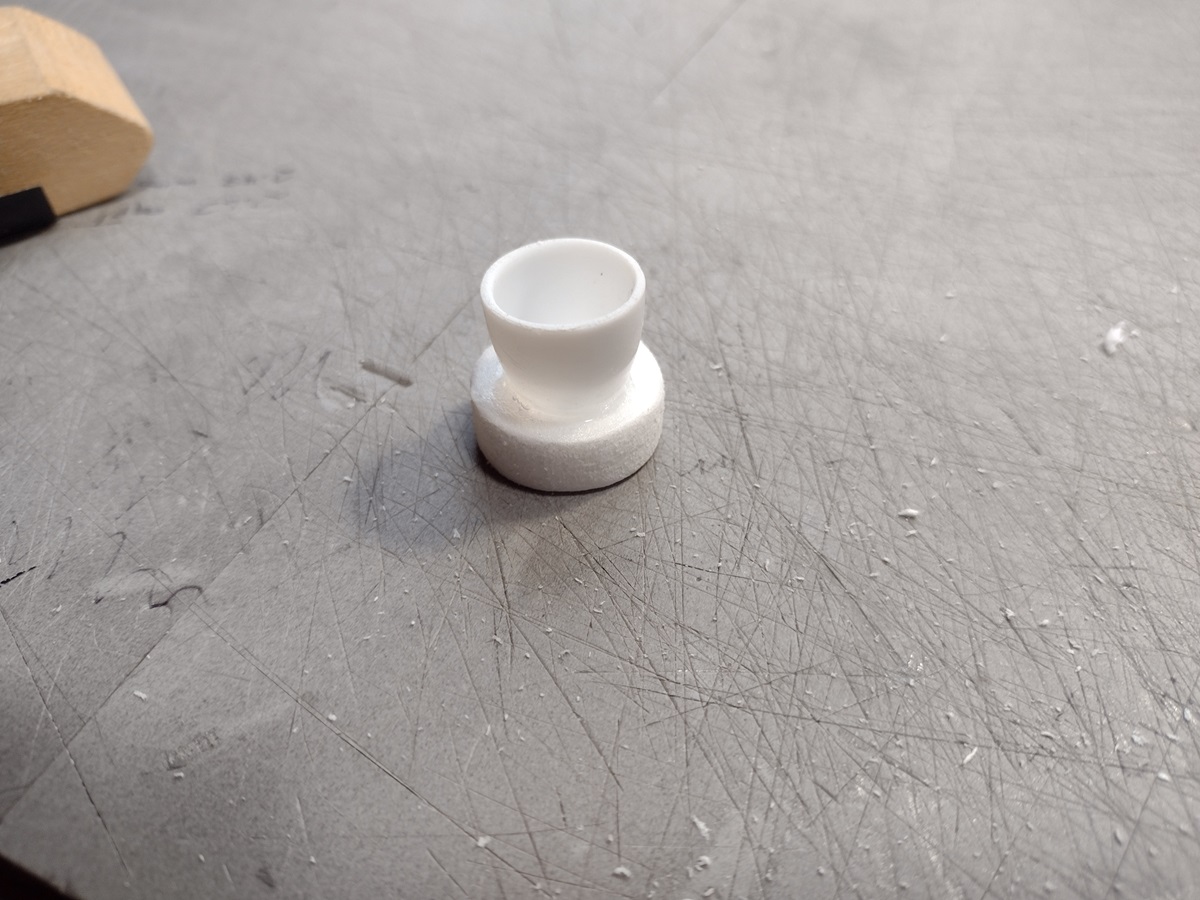
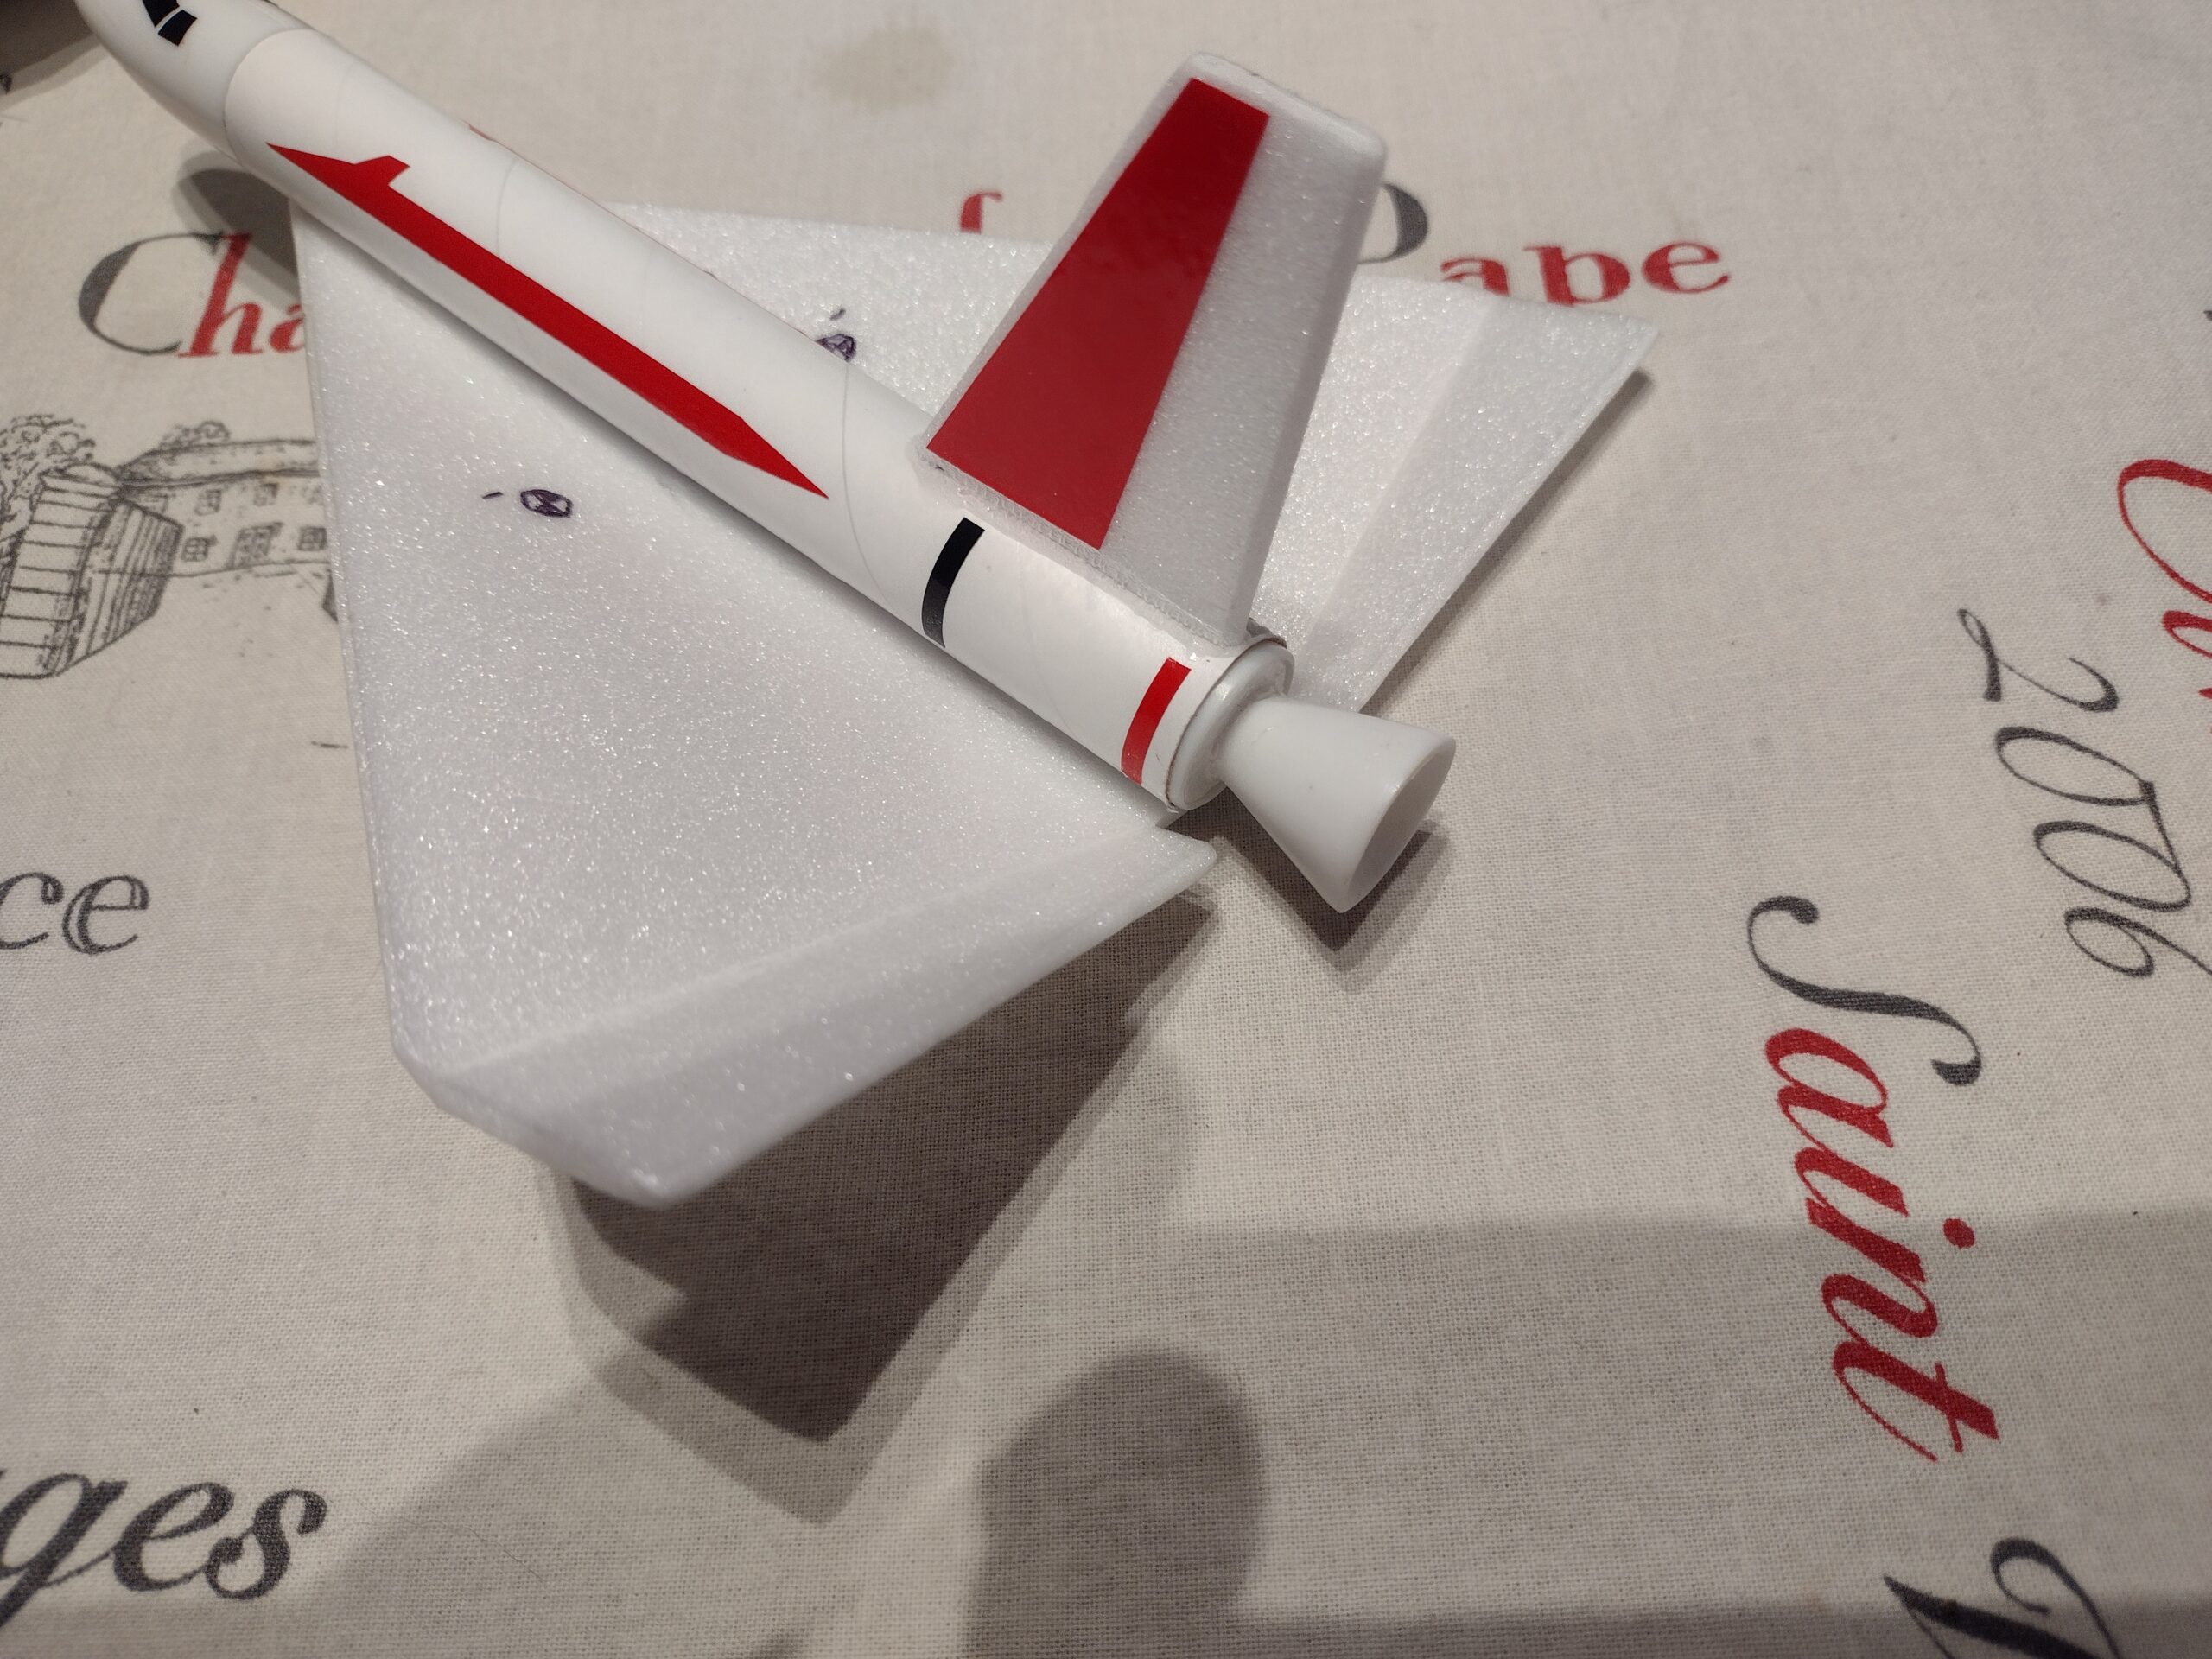
- For the tail cone use the appropriate template and print on cardstock, and roll over a table edge and glue to make a cone.
- Cut and fit a piece of 9mm depron to fit the rear of the body tube.
- Glue the transition/cone to the foam to make the nozzle.
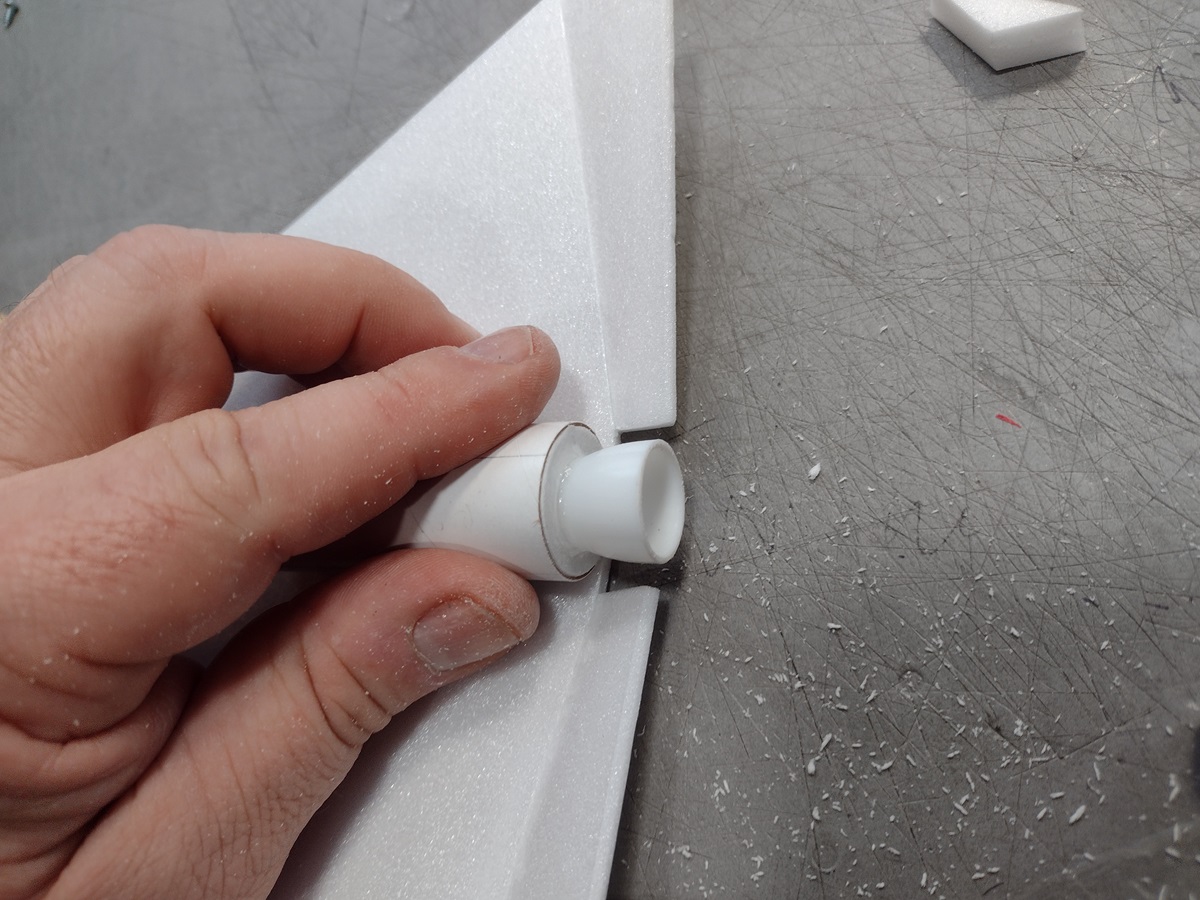
- It fits into the rear of the model, you may need to trim the foam a bit to clear the tab of the stabilizer so it will insert fully. Wait to glue this in till you have balanced and test glided the orbiter. You may need tail weight.
- You will need this part: Eflite payload release
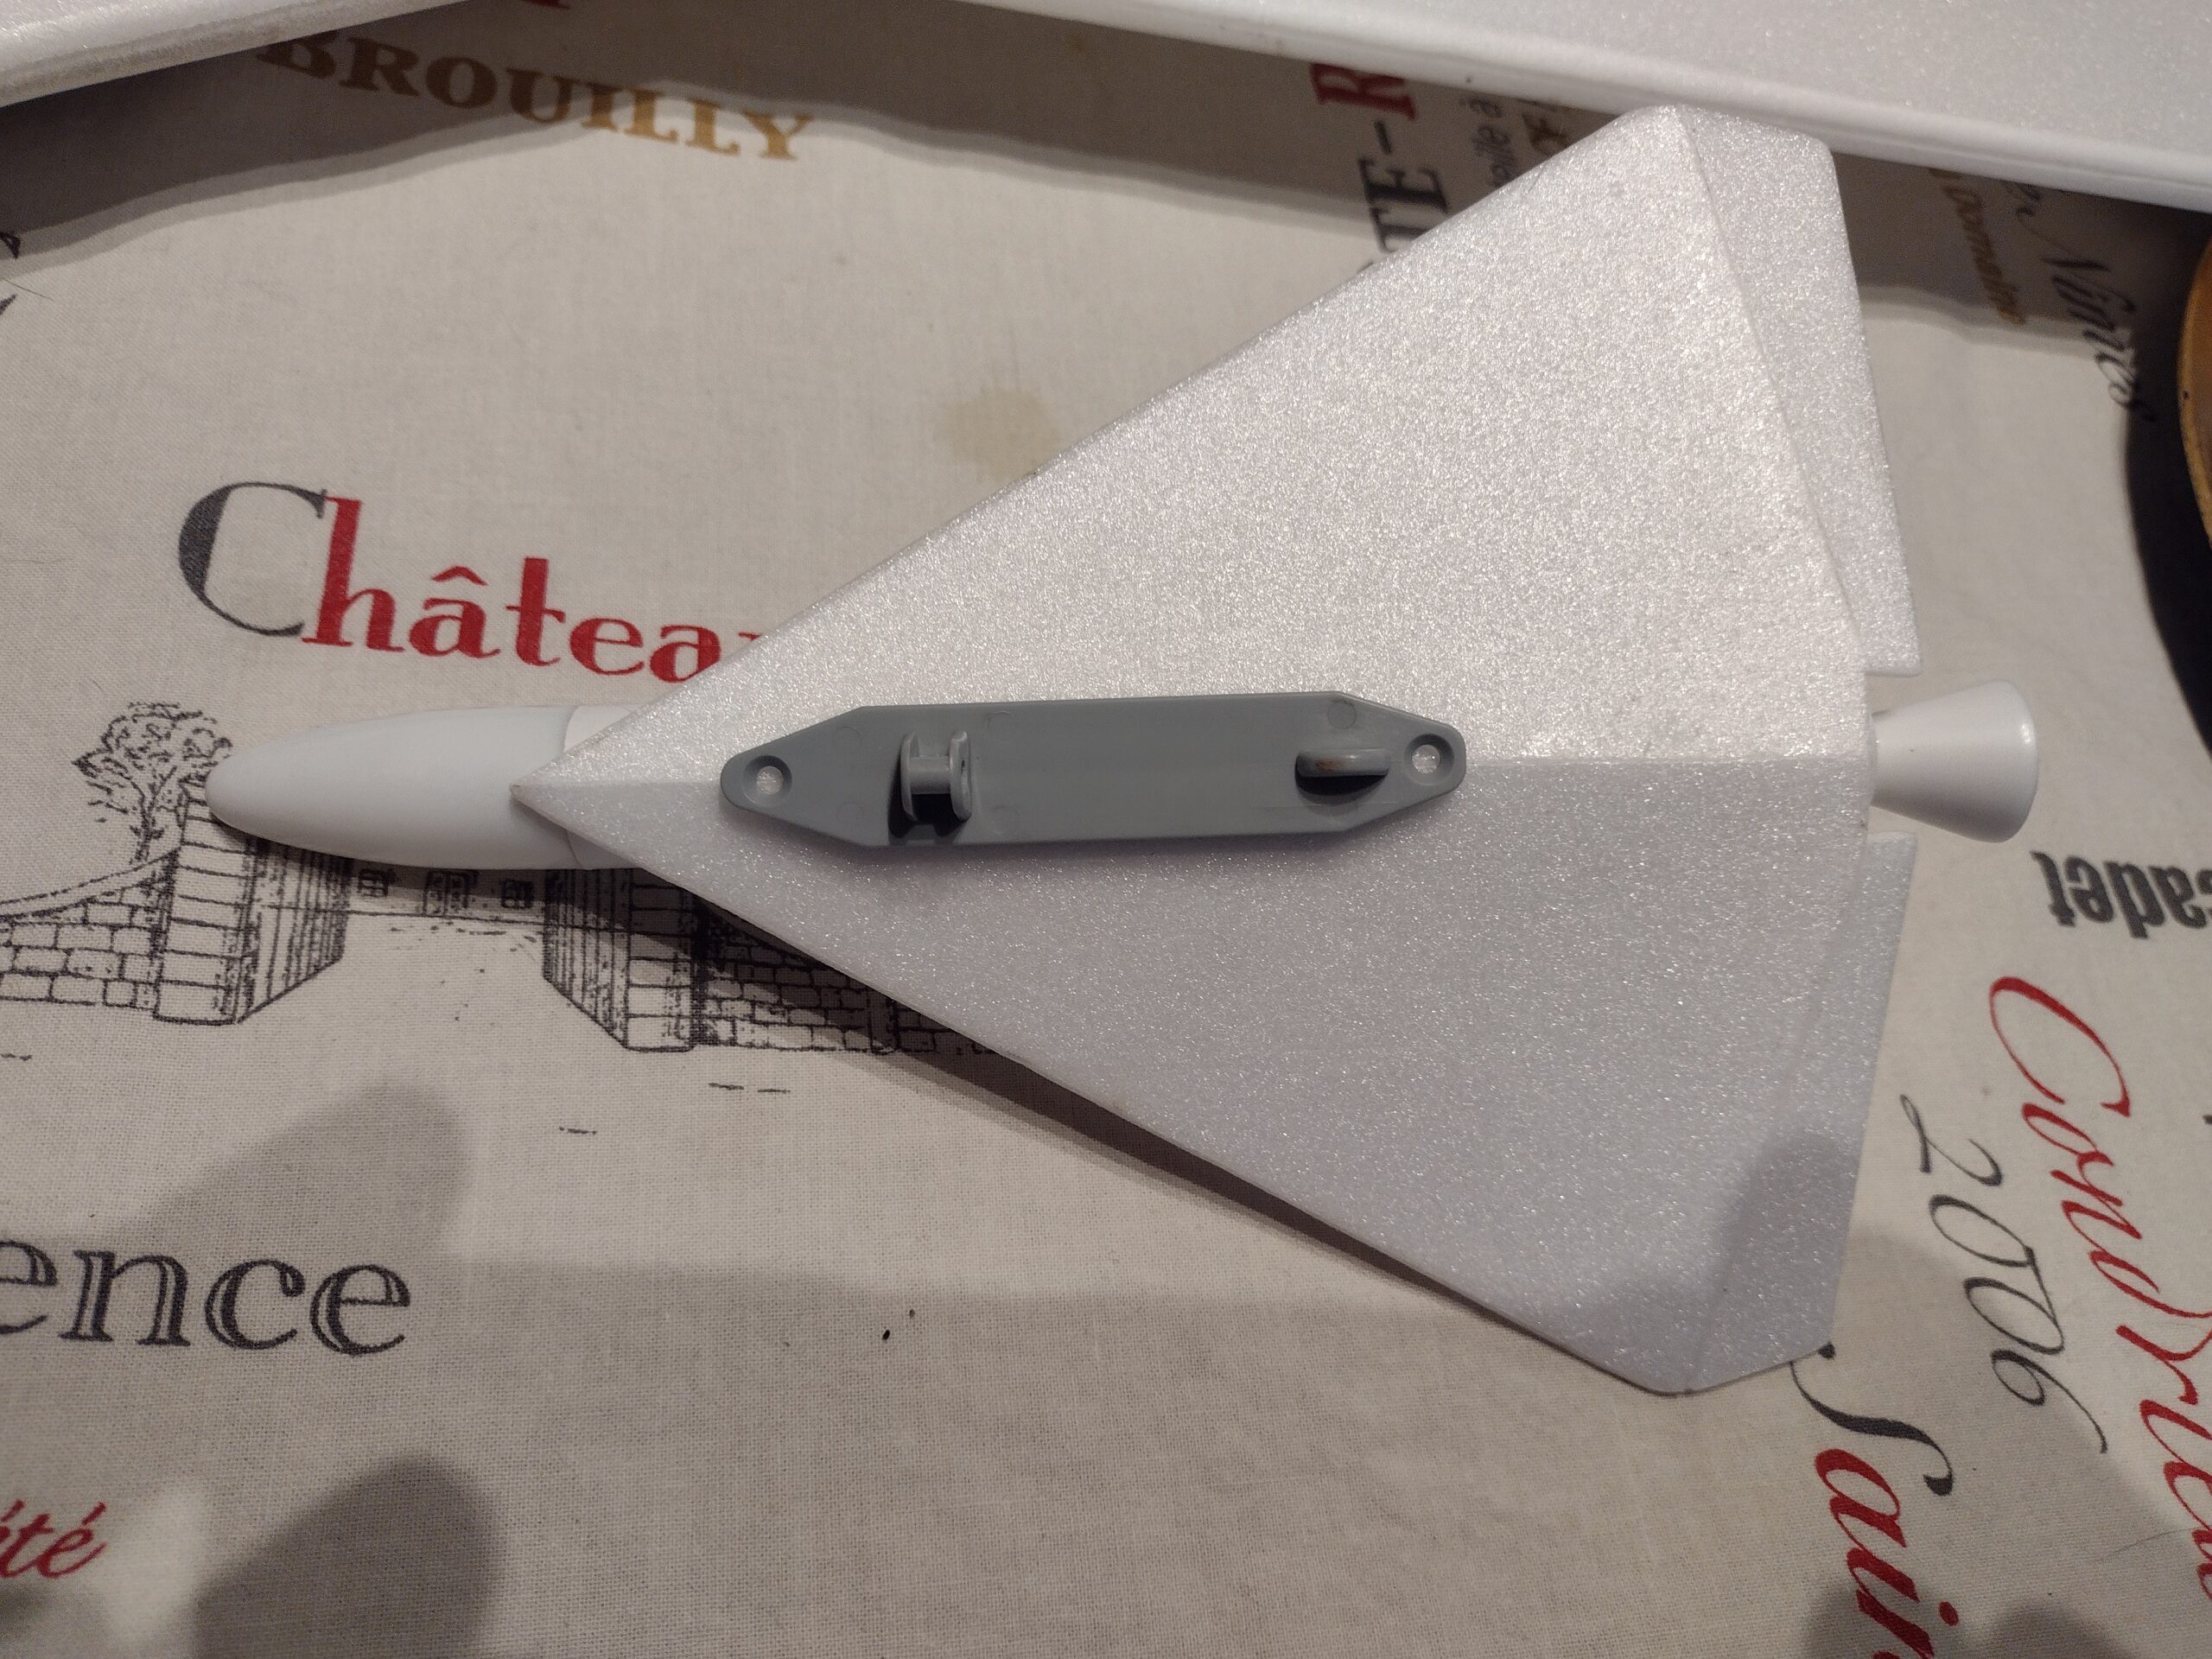
- Locate where the glider flange will need to be mounted in your glider. I taped centered on the cg location as indicated and then did test glides in the house to shift it around till I got a good glide then marked the bottom of the wing for the location.
-
I slotted through the wing and body tube of the glider carefully with a large dremmel cutoff wheel to CA the eflite payload flange into the model. Make sure it glues flat so that the wings will remain level when mounted in the model.
- CG location noted on the plan download. The CG will vary slightly depending on the actual up elevator angle you build into the model.
- My completed model with flange mounted weighed 13.5 grams for the BT-20 version and 21 grams for the BT-50 version.
- Attach the glider to the electronic release then set it on top of the booster as ready to fly and balance the entire stack. Shift the glider and release forward or back slightly as needed to achieve the proper balance. I mounted the unit an inch or so ahead of the CG and the glider sticks back a bit so it is a wash. If you plan on flying the model without the glider sometimes also double check the boost balance is still at the correct spot, move the battery forward/back and/or add nose weight if needed.
- Mark the model where the electronic release will need to be mounted for balance.
-
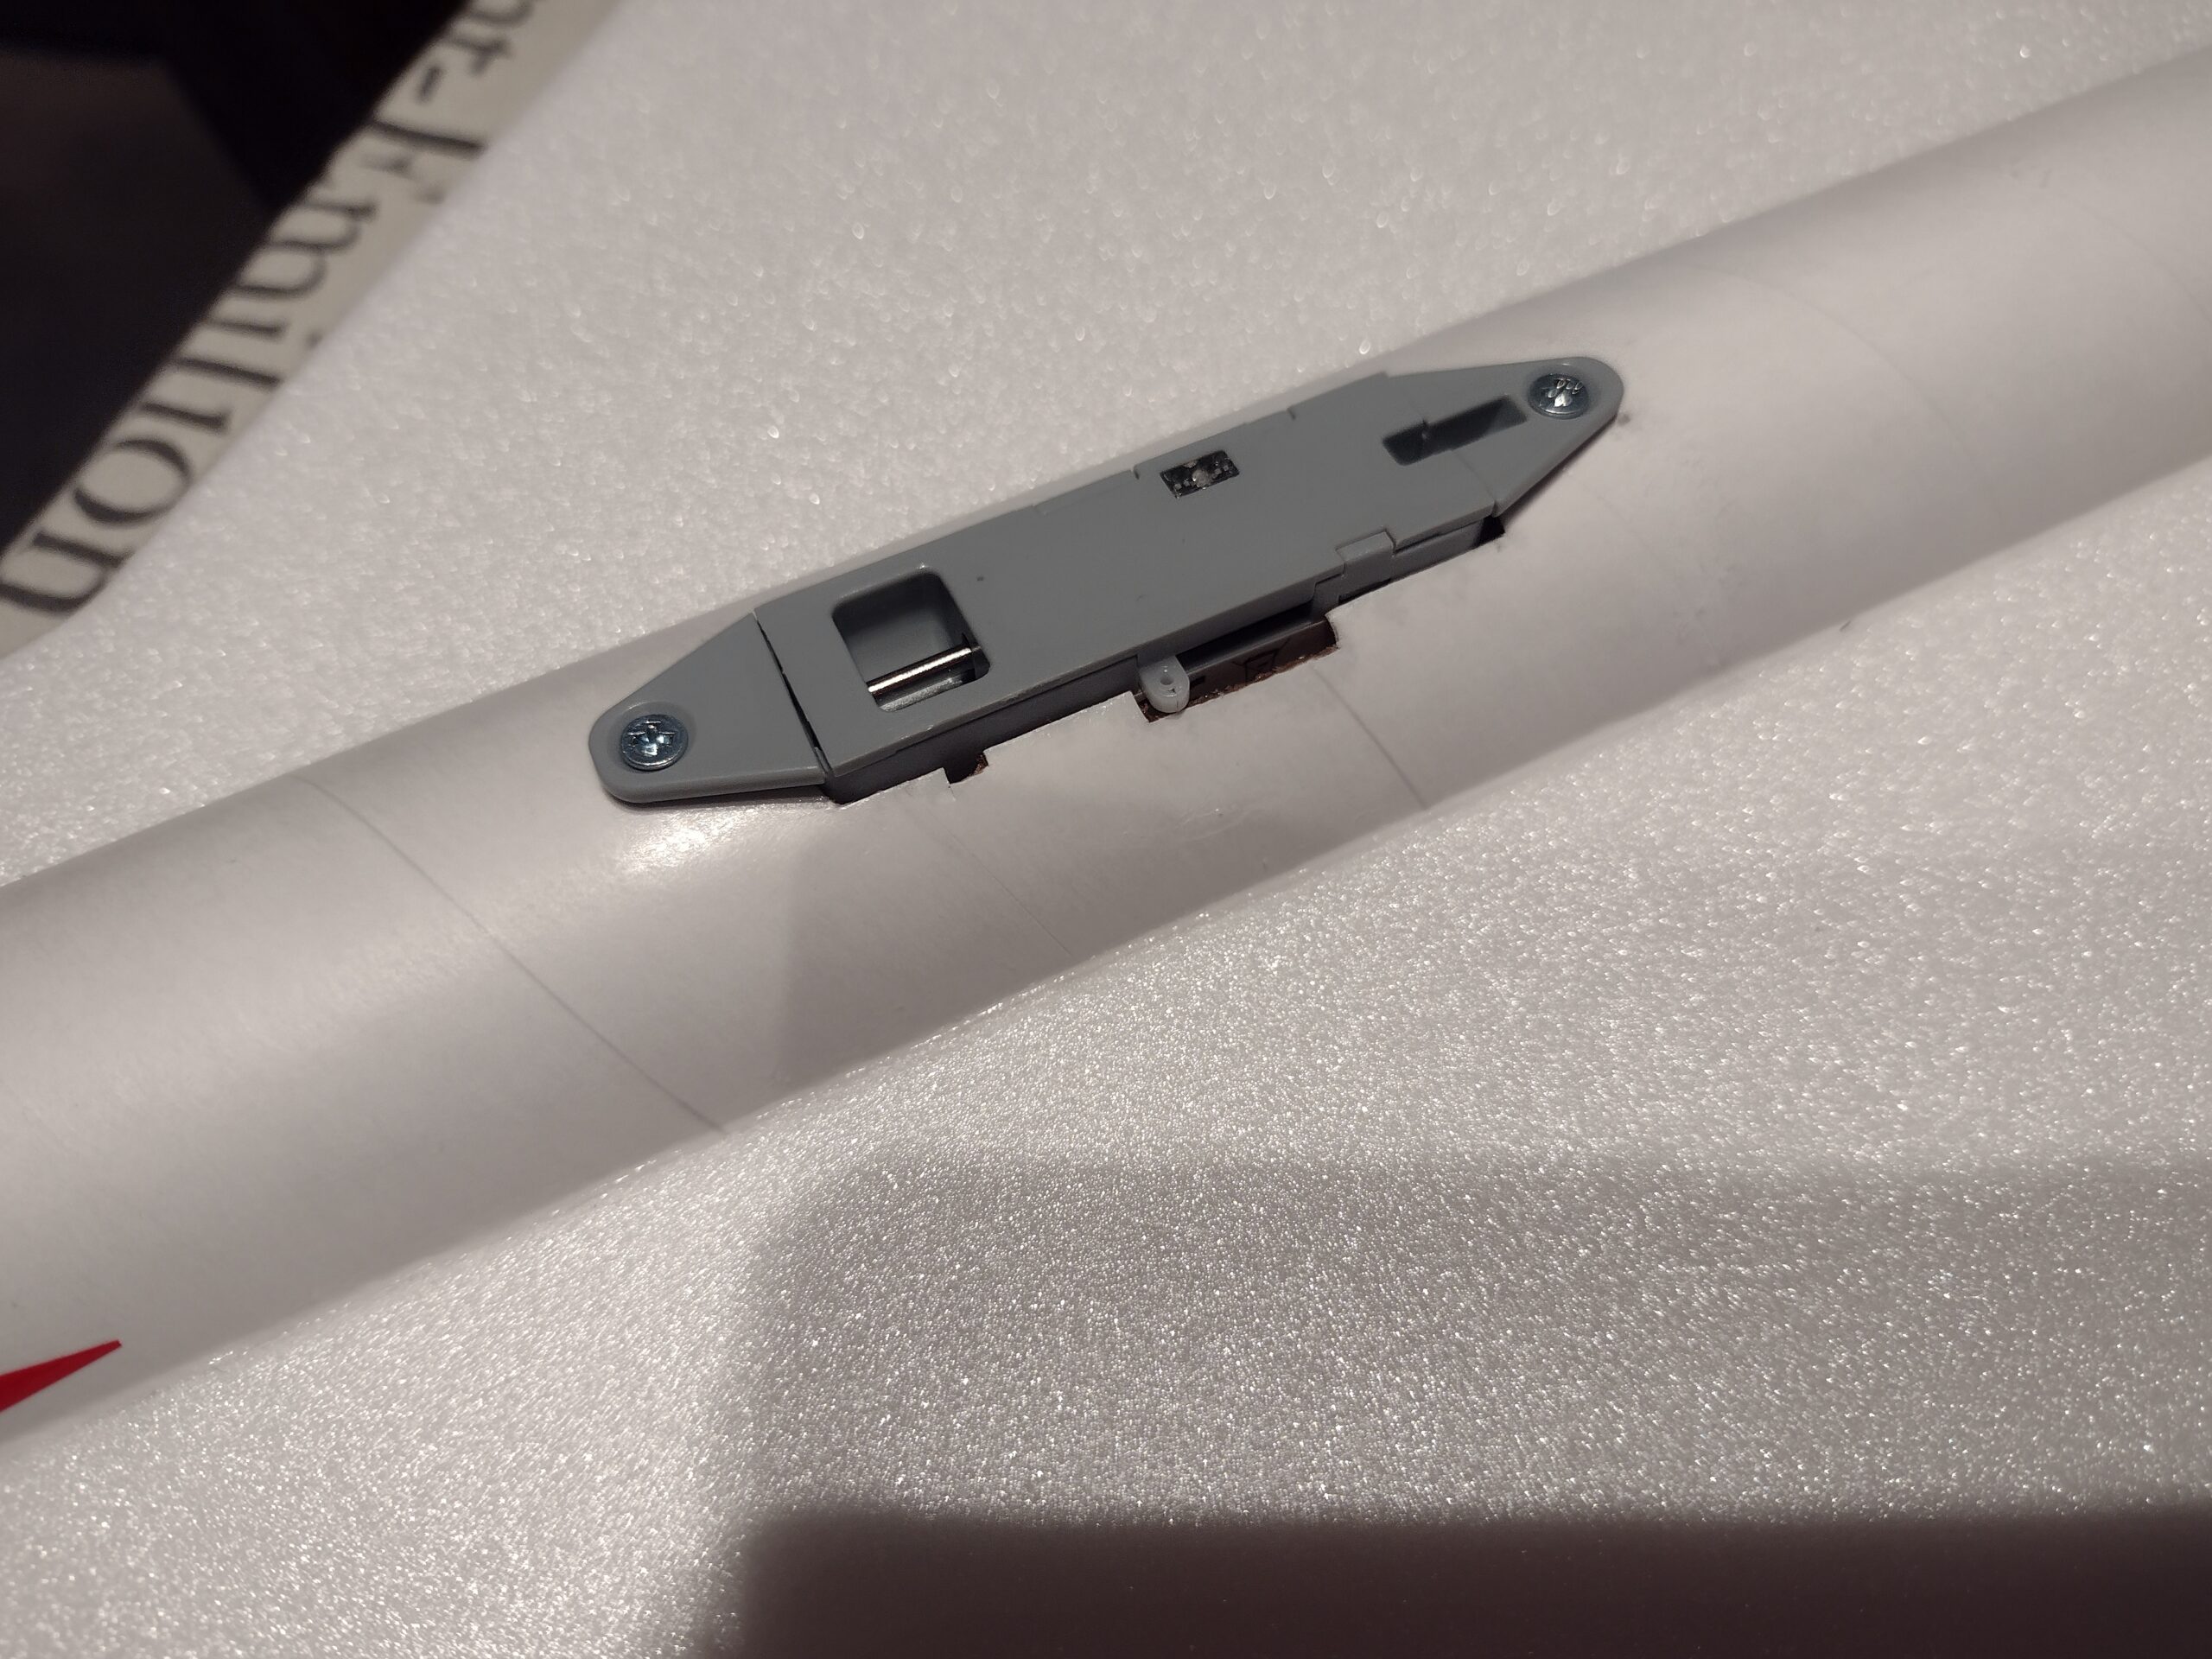
I mounted the electronic release through the top of the model, cut through the top of the body tube just to fit, and cut through the wing to fit the unit snugly, cut clearance for the mode button and the manual loading lever in the body tube and then used two flat head screws to hold the unit to the tube after using CA to toughen the holes for the screws.
- Route the wire through the body tube to the hatch and connect it to channel four on your receiver.
-
You will need to map channel four to “gear” in your radio under channel assign and then go to the “next” screen and assign it to the “I” or trainer button. This way when you hit the button it will release and hold for a second then release and reset, if you assign it to a switch you will need to cycle the switch off first before releasing again. I’ve found sometimes I need to hit the button twice to get the glider to pop off due to aerodynamics not letting the glider fall off.
- In my case the pin didn’t pull back quite far enough to release consistently so I used an exacto on the flange mounted to the the glider and put a bevel on the opening for the retaining pin hole a little at a time till it worked.
-
At the top of the boost, roll inverted and release when it is going slow…Have someone to watch the glider as it is really tiny and hard to see…Then recover the model by completing a half loop and flip in the up trim for glide.
- If you misjudge, just dive a bit, pull up slightly and roll inverted and try again.
- If the model does not release try again or if too low, just put in the glide trim, it flies fine with the glider attached.
- My completed stack weighed 10 oz rtf with motor with the BT-20 glider and 10.5 ounces with the BT-50 glider.
- You could also substitute an actual original sized Orbital transport glider, or Super Orbital Transport glider as it is the same size, just heavier and use the eflite mounting bracket.
- You can glue some weight under a wingtip to get it to circle more tightly if needed.
- The stack won’t go as high with the BT-50 glider since there is more drag and the model is around .75 ounces heavier, but still works fine. It is easier to see and track the larger Orbiter. I think the larger orbiter looks more proportional as well.
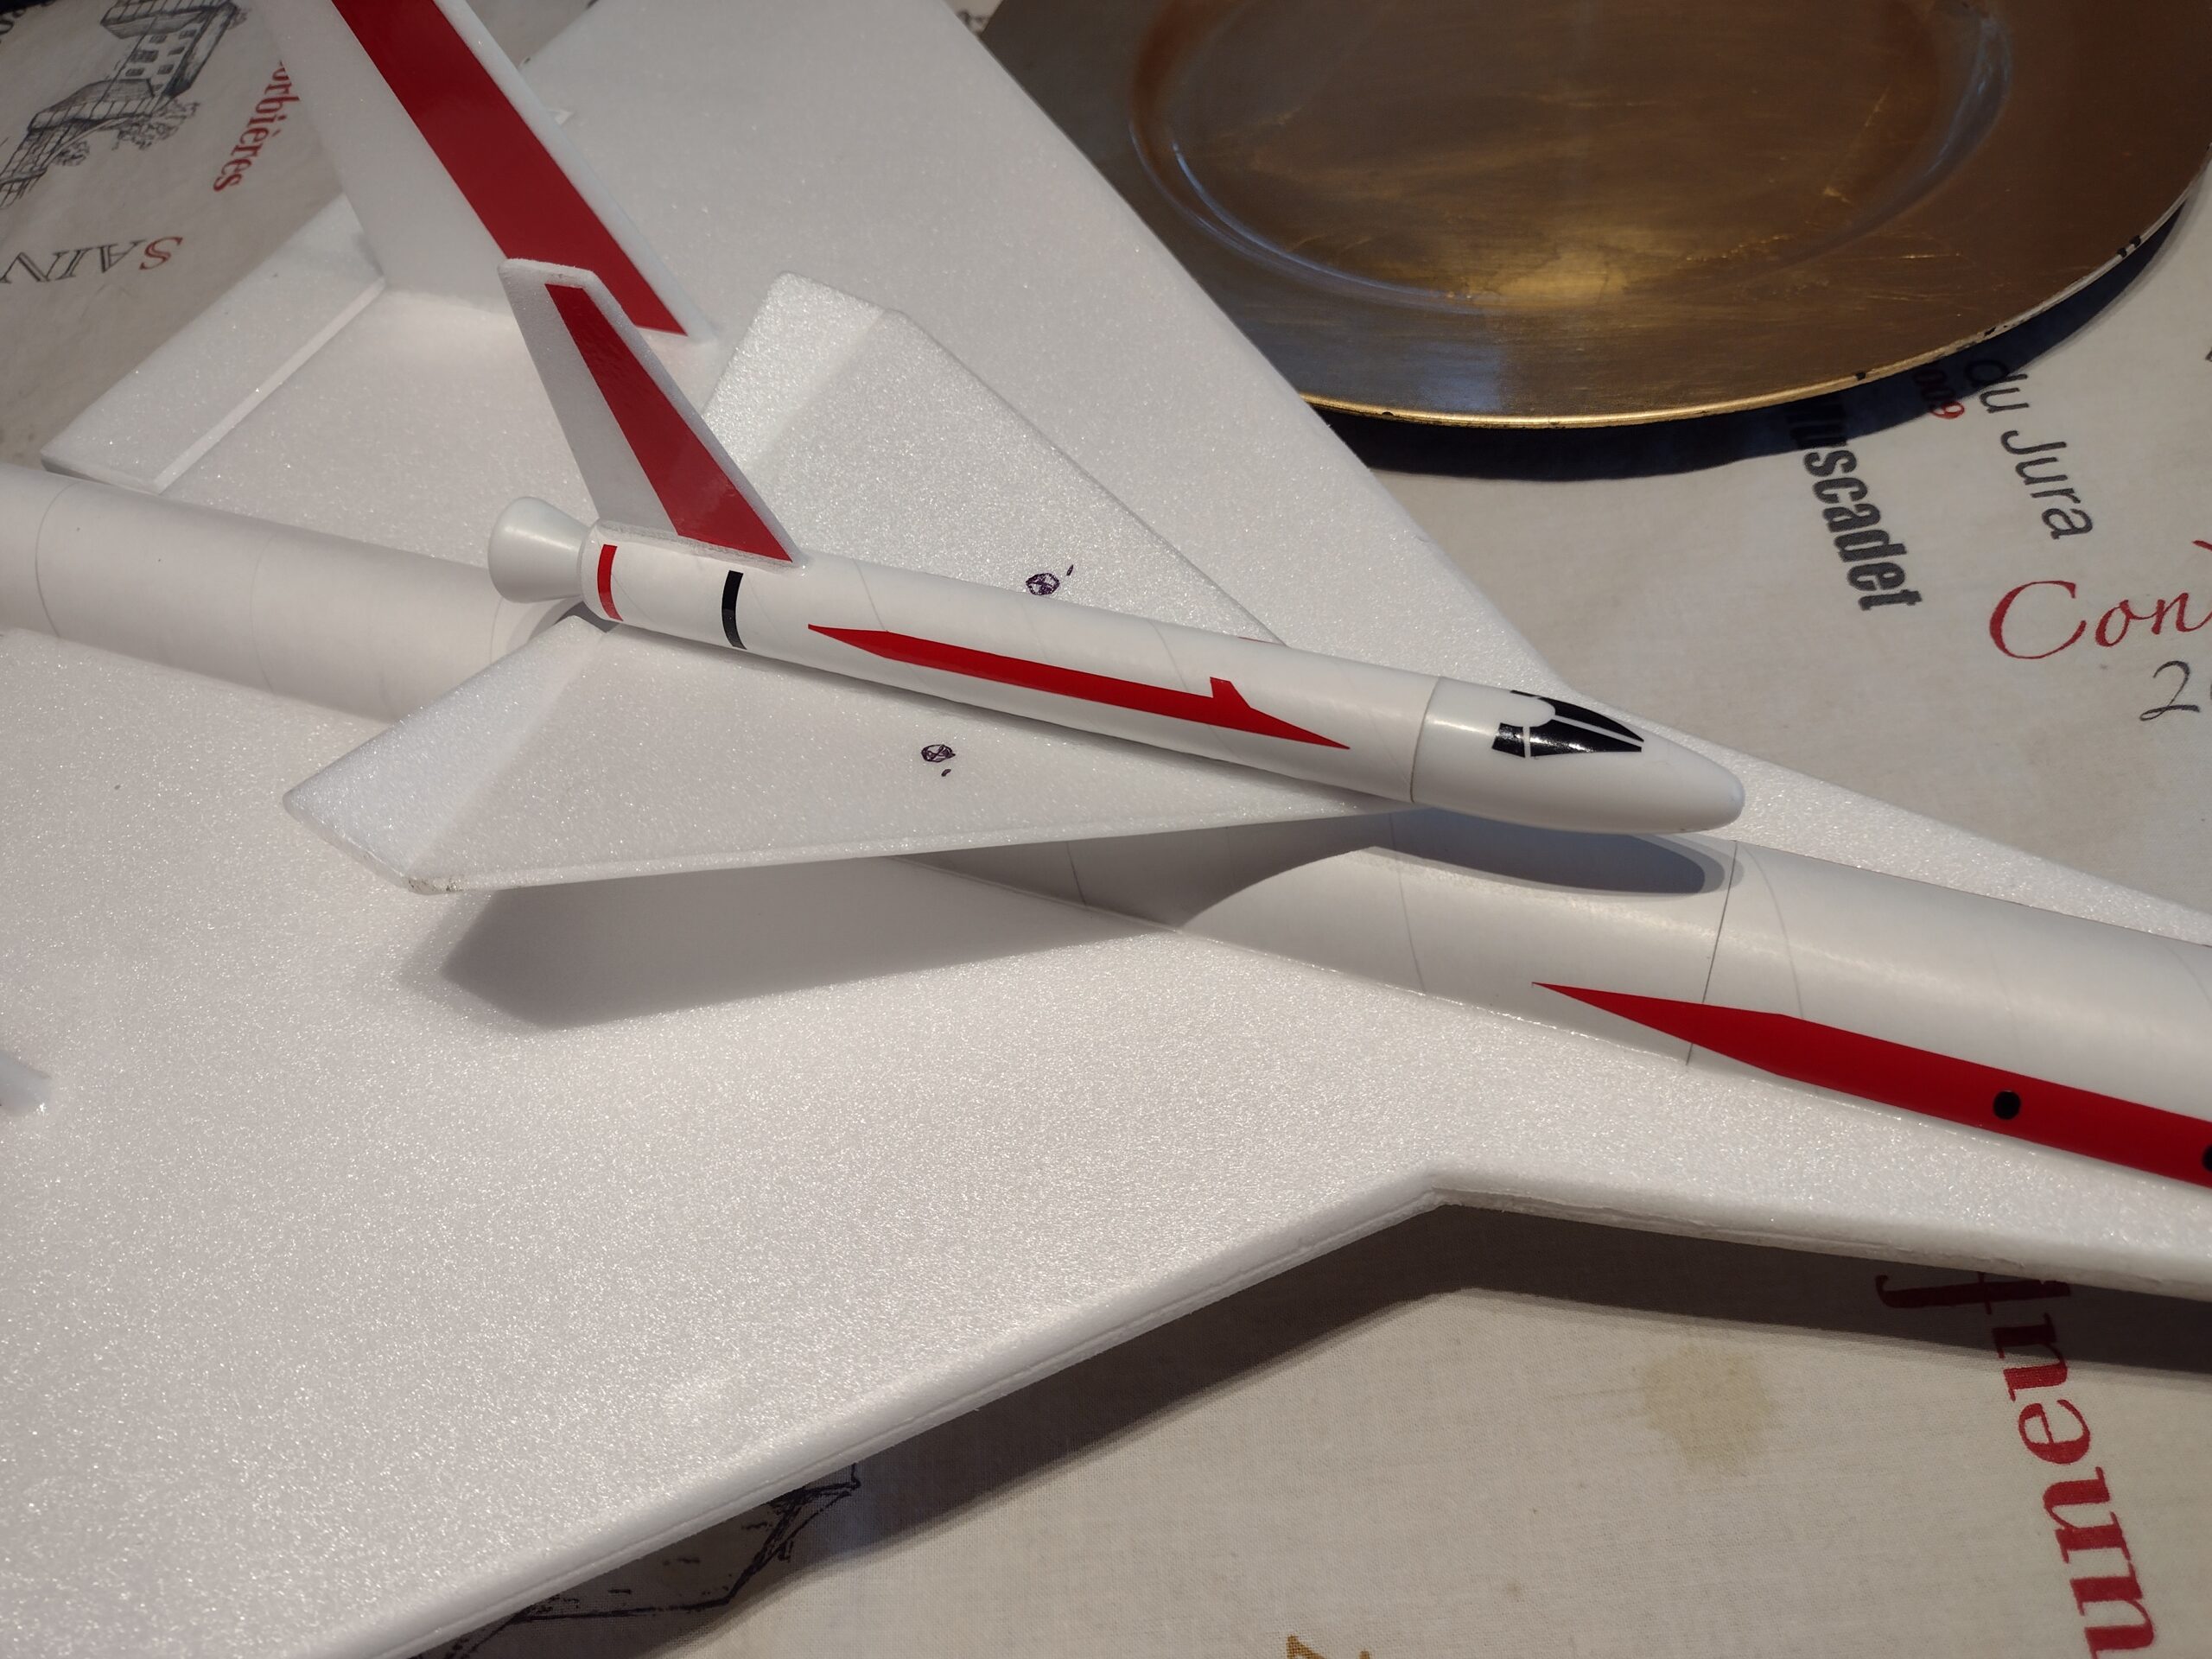
- The wingspan is larger on the BT-50 model so you will need to see if it will clear the vertical stabs on the booster during release on your model, mine is very close but I have not had any issue yet. YMMV.
- Wing and tail parts cut out and edges beveled with exacto
- Use blenderm tape on wing joint.
- Flip wing over and glue to body tube with cutout even with body tube end.
- Trim off elevons and bevel and re-glue with about 1/4″ to 5/16′ of up on each wingtip.
- Elevons installed
- Mosquite nose cone with shoulder removed glued to spare 9mm depron trimmed to fit into rear of body tube.
- Nozzle fitting, install after gluing tail in place.
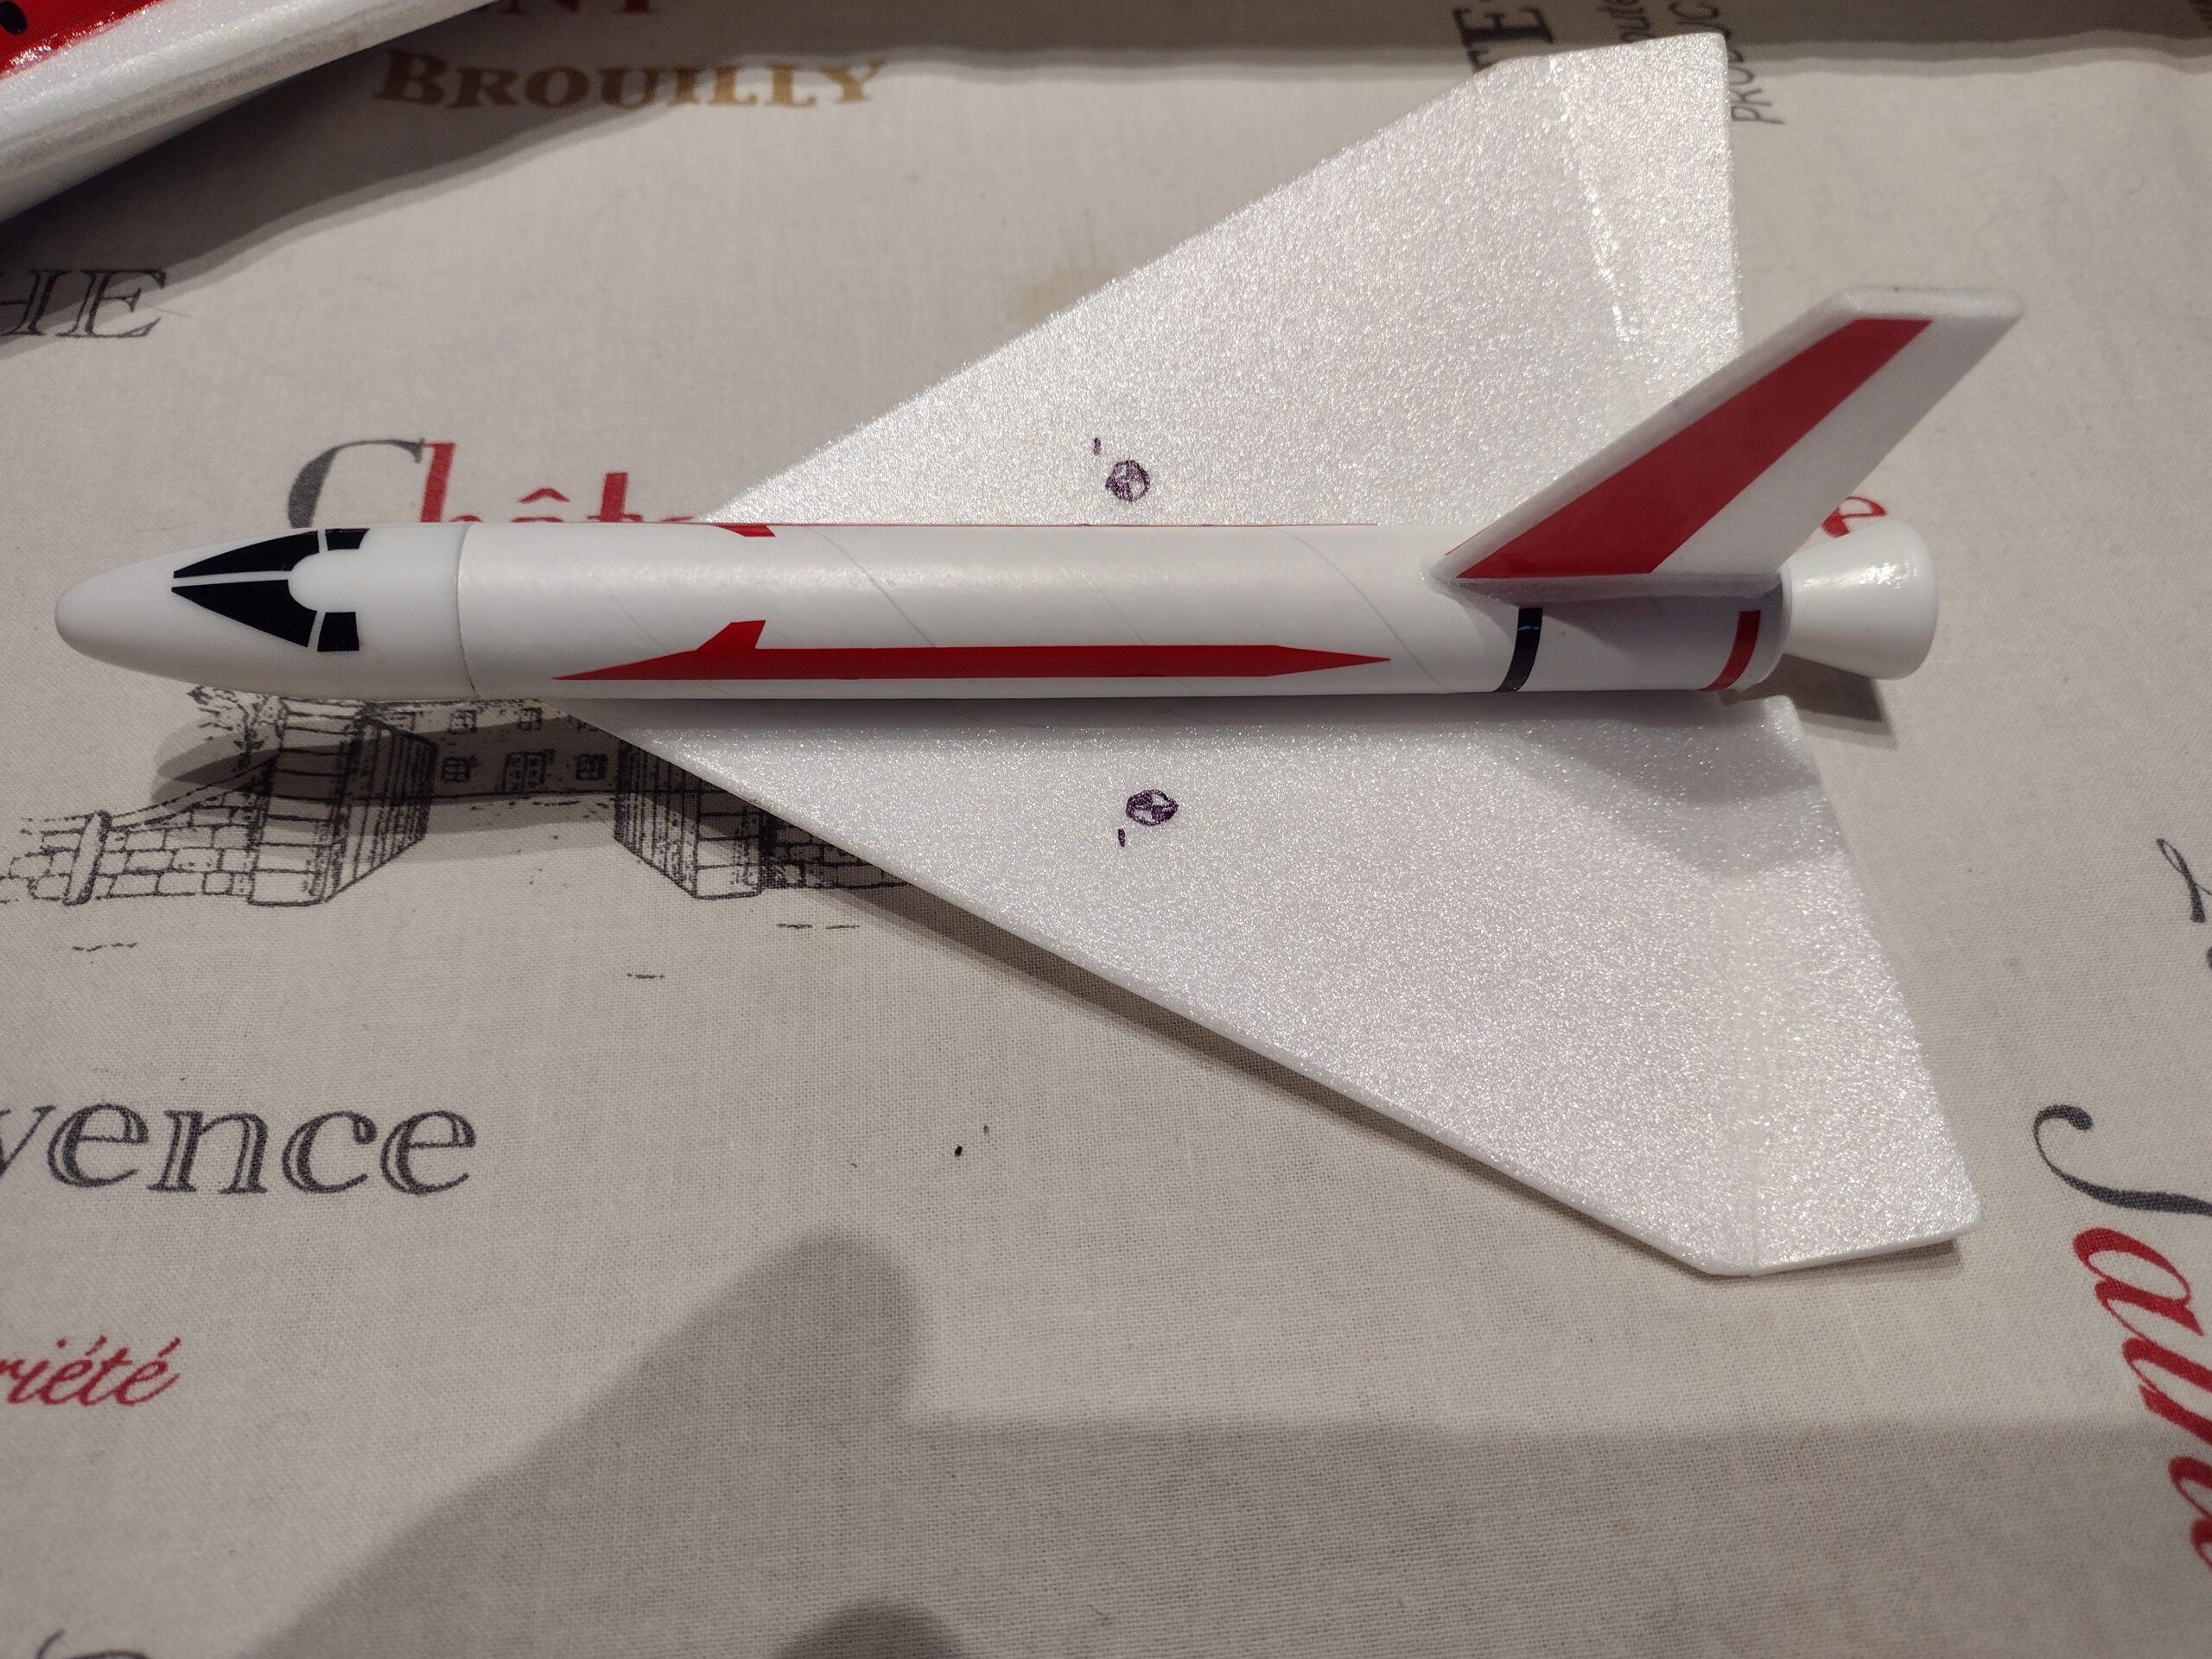
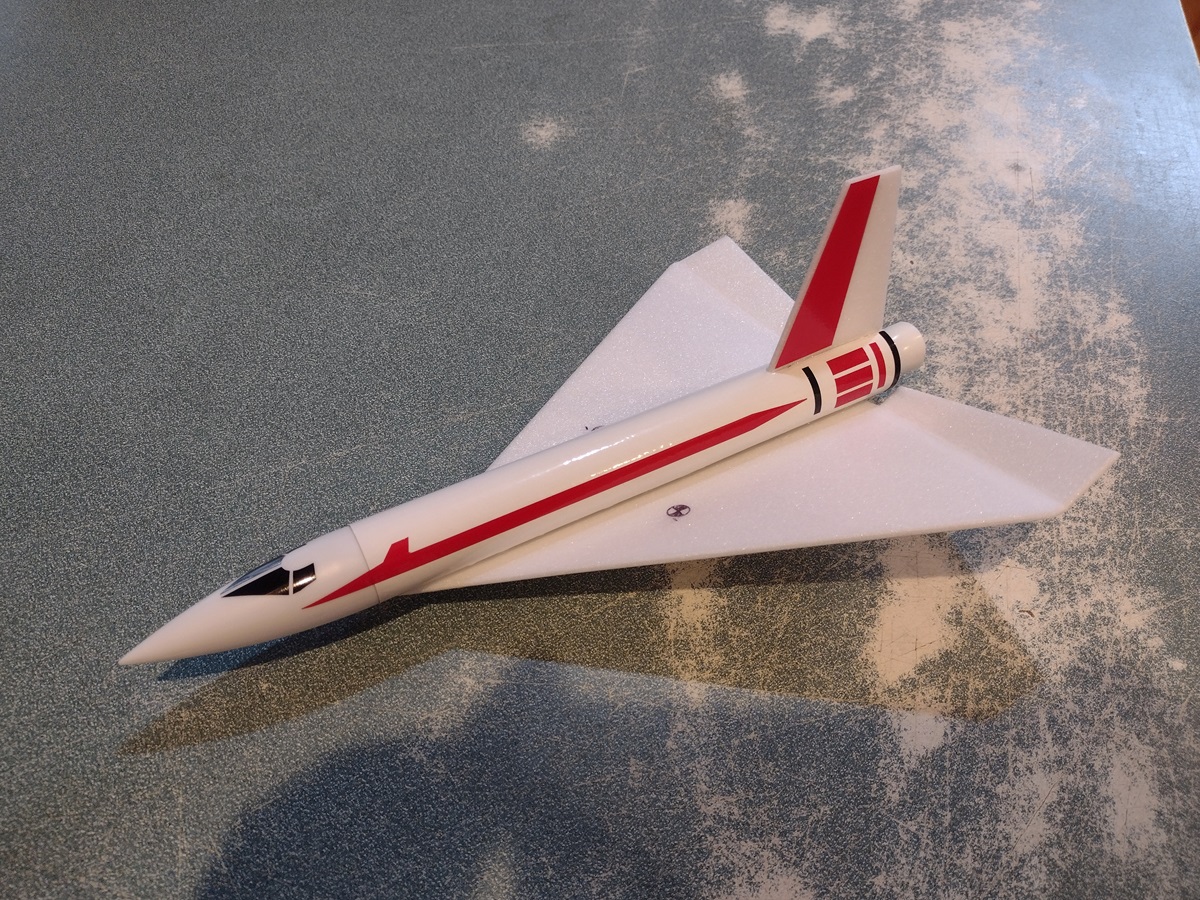
- Glider
- Glider bottom showing capture mechansim
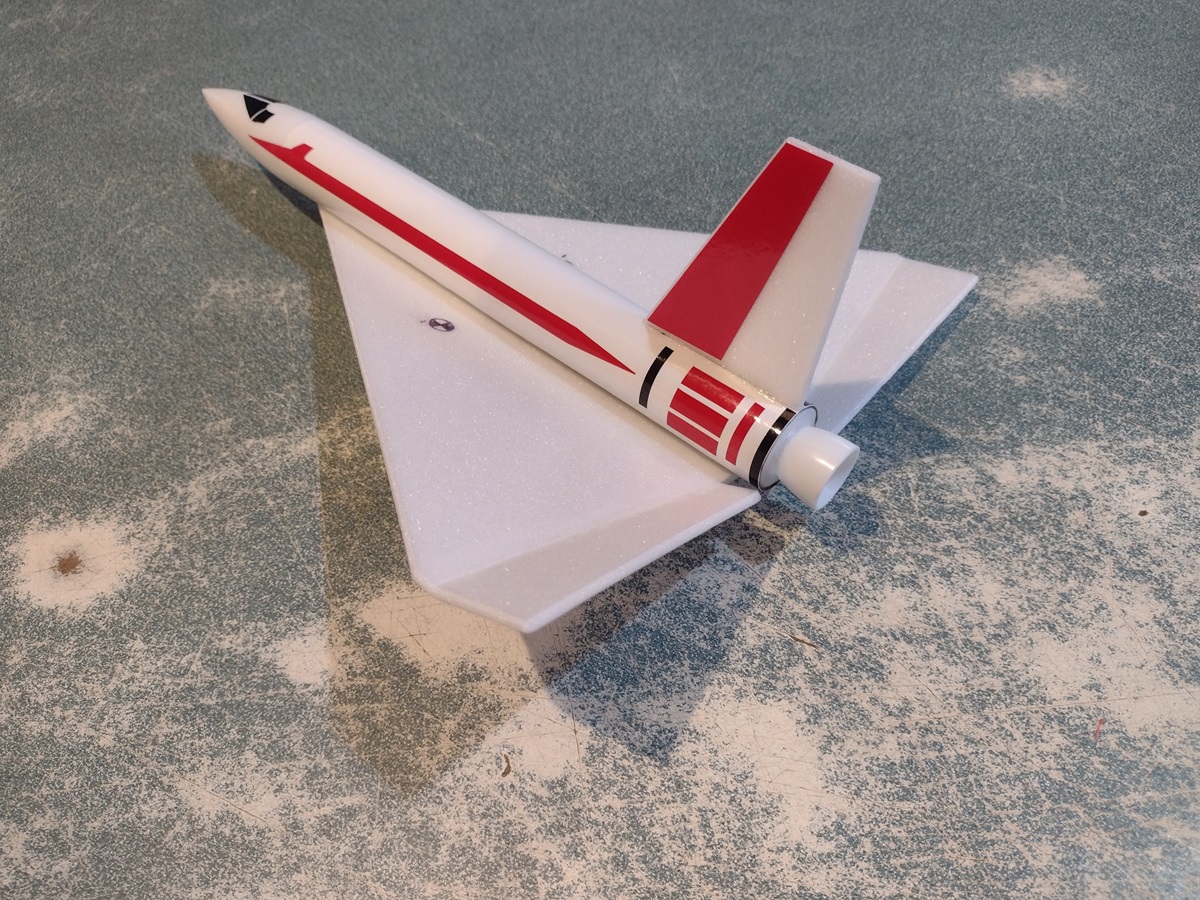
- Rear view showing nozzle
- eflite payload release mounted just ahead of the CG, note recesses for mode button and manual release lever
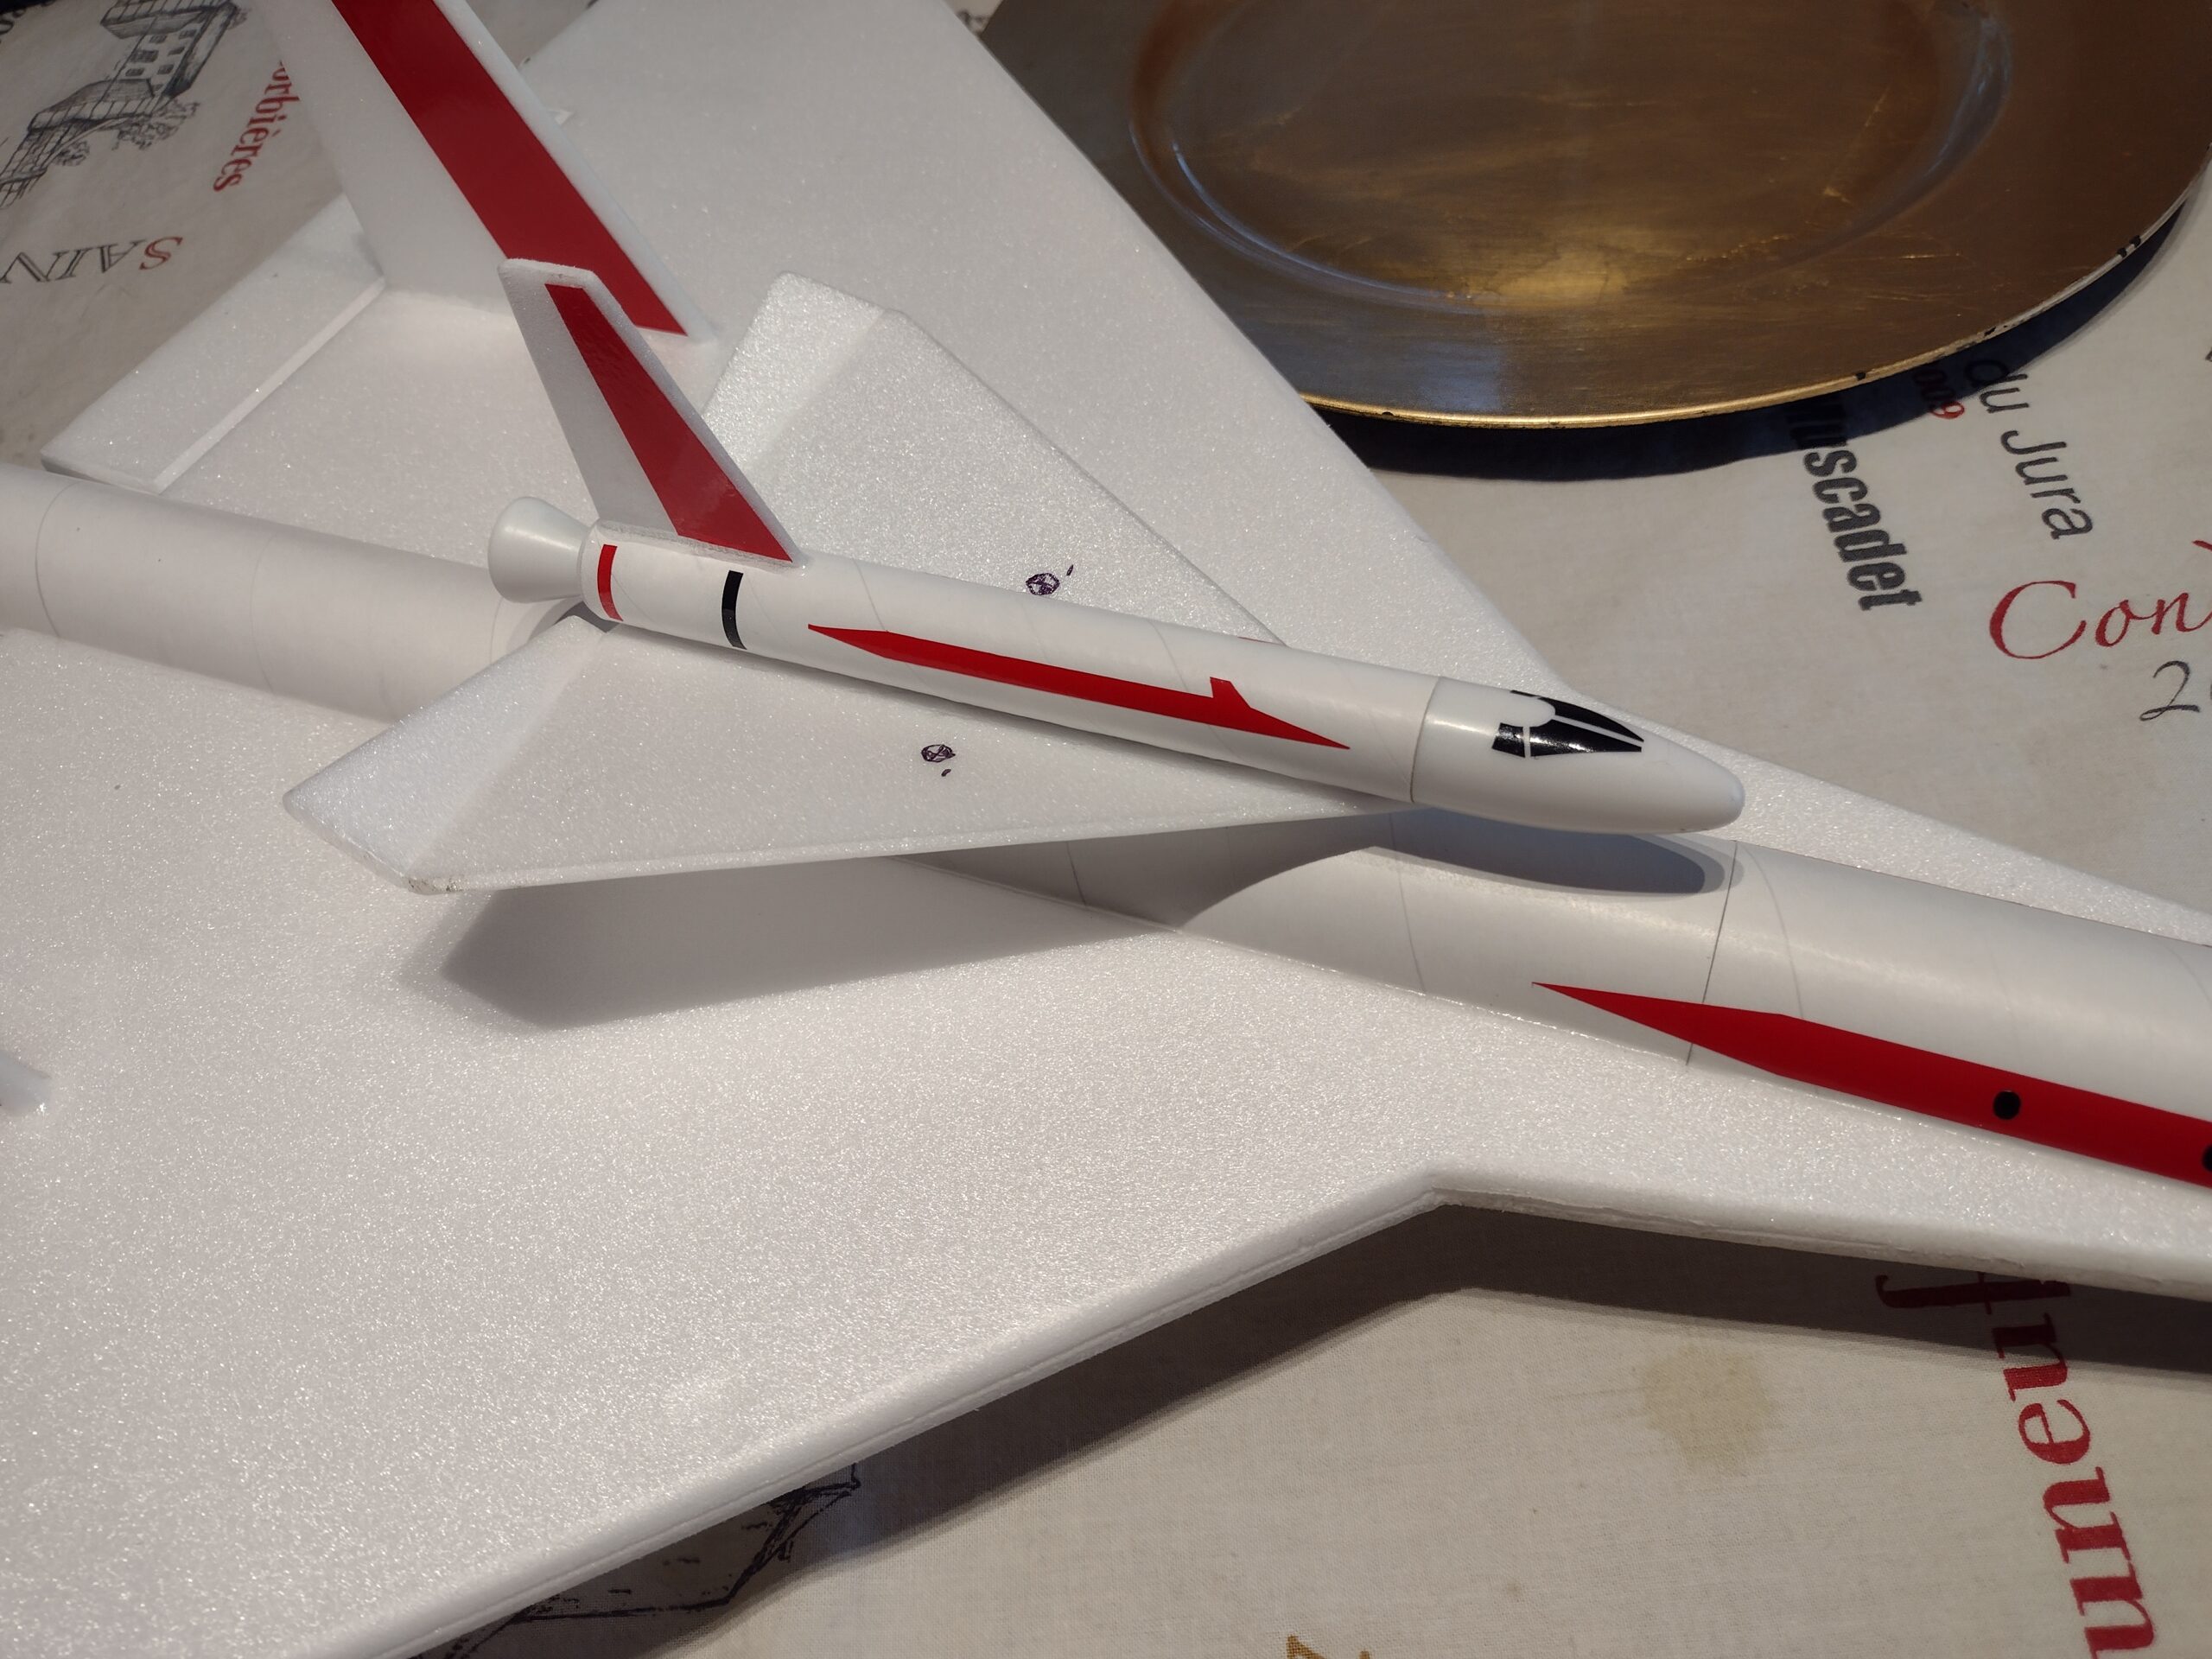
- Glider attached
- BT-50 version using Estes Alpha parts
- Rear view of Alpha version, on this I used a mosquito nose cone for the nozzle.
