If you have asked for the optional rail buttons to be on the bottom of the model and are going to use or add OMS pods to the kit follow these simple additional instructions.
Identify additional pieces
2 long screws
2 styrene disks
10 oms pod foam profiles
Assembly:
- DO NOT GET GLUE close to the pre-punched rail button holes as these will need to be clear for mounting the rail buttons later!!
- Glue only TWO of the 2.75″ by 13/16″ foam strips on two of the lines on the motor tube at 90 degrees to each other.
- Test fit the motor mount, the mount will go with the two tabs facing down and the stab tab will touch the top of the tube, it will look like an upside down “Y” when viewed from the rear. It will be inset about 1/2″
- You don’t want the fit to be too tight and deform the tube, just snug enough, then glue in place.
- Stack six of the oms pod pieces and laminate like you did the nose section, repeat with the other six so you have two sets.
- If desired for added detail you can stack/glue 1/2″ pieces of the spare included foam and glue that to the rear of the oms pods for the small thruster sections on the oms pods.
- Attach each oms pod to the rear sides of the shuttle.
- Measure 1 5/16″ from the front and rear of the body tube and make a small hole through the bottom of the wing at these two points using a small screwdriver or round tool. It should pass into the body tube via the pre-punched holes.
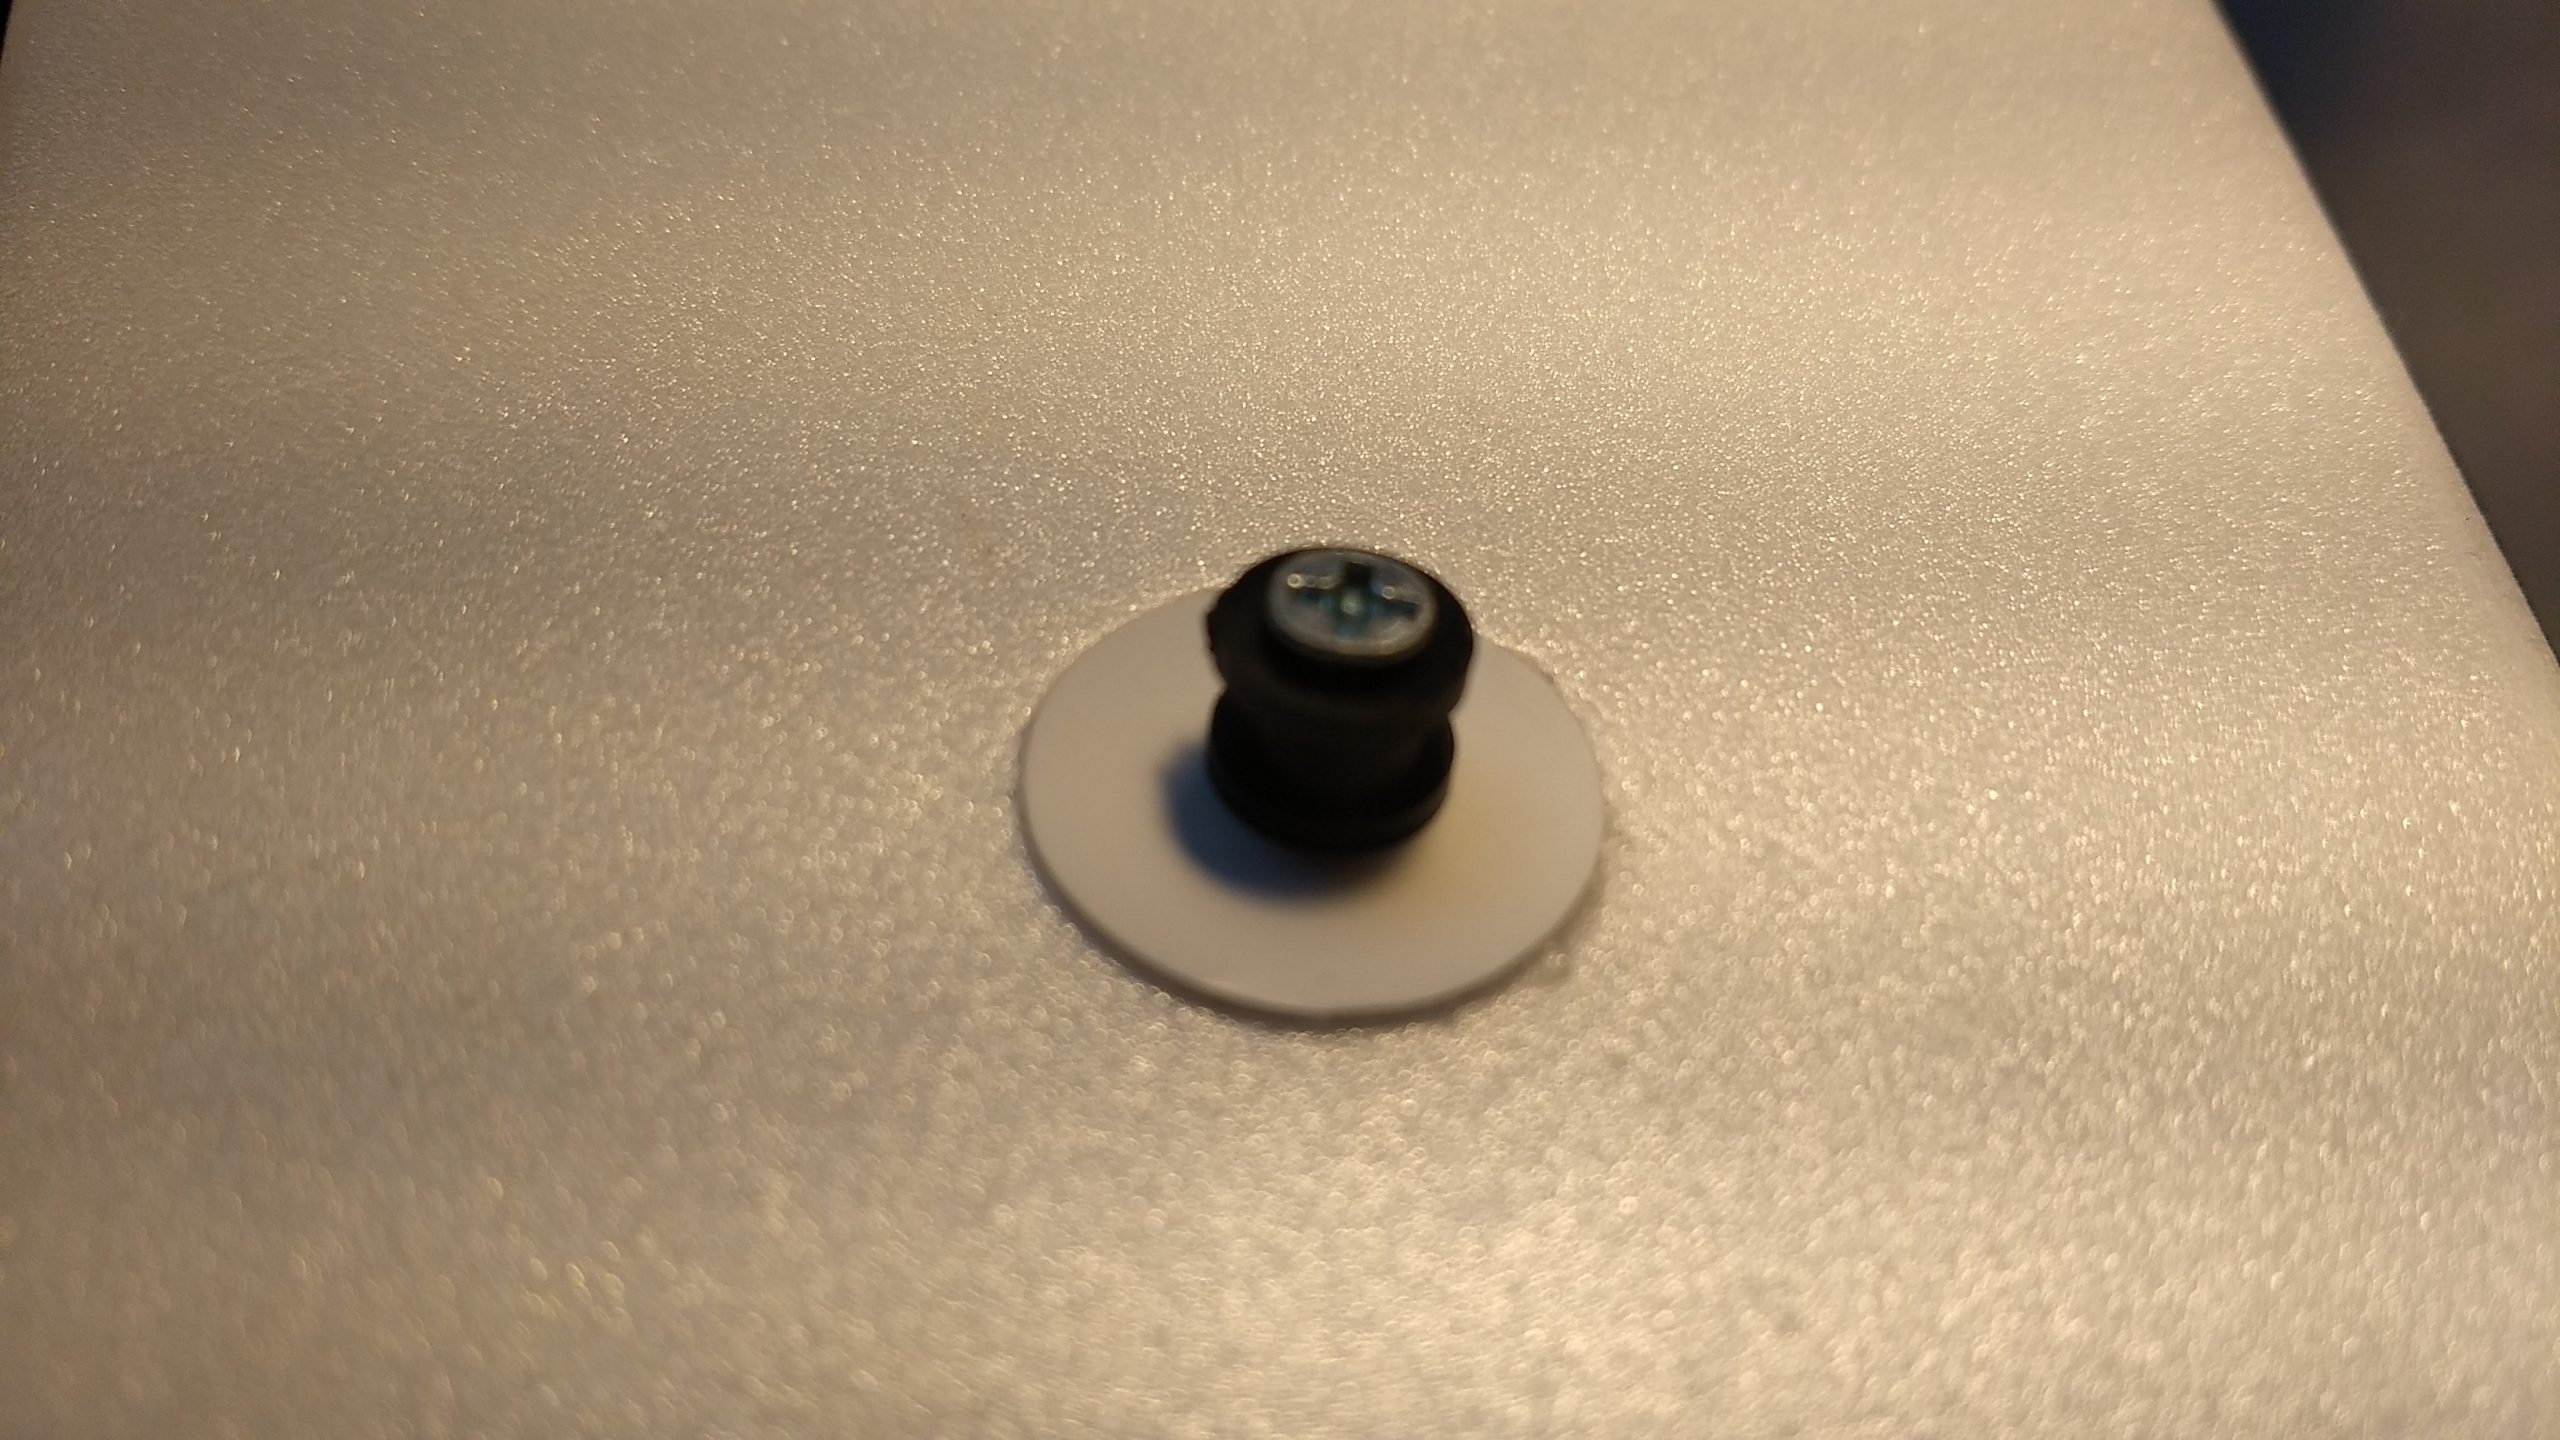
- Glue one of the plastic disks in place over each hole on the bottom of the wing.
- Install both the front and rear rail buttons at this time using the longer screws provided. Insert a t-nut from the inside of the body tube and install the rail button and screw on the bottom of the wing and secure it to the t-nut. If your kit came with a short and long screws, use the longer screws. Don’t over tighten or you will crush the wing foam.
-
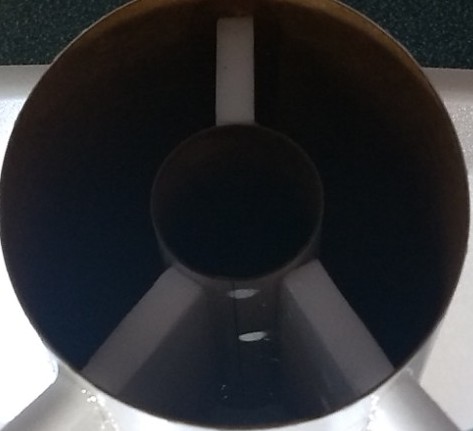
- Rear view of motor mount showing the two glued on mmt strips and the fin tab making an inverted Y shape, inset about 1/2″ See the hole for the rail button access as well.
-
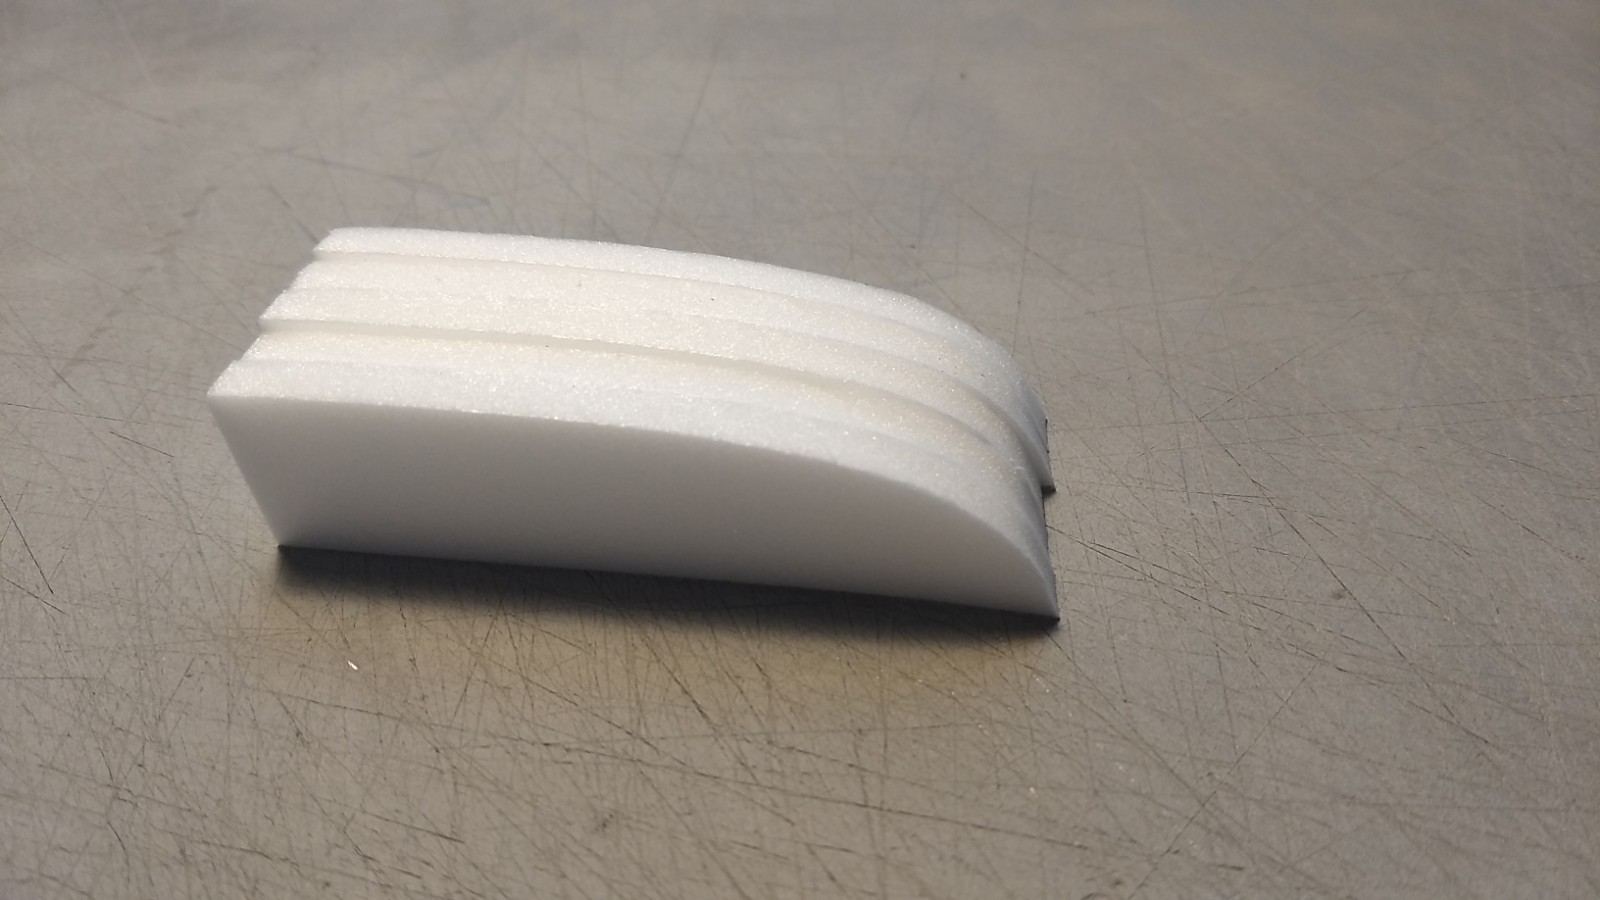
- Optional US shuttle oms pod pieces, stack and glue 6 together and repeat for other side.
-
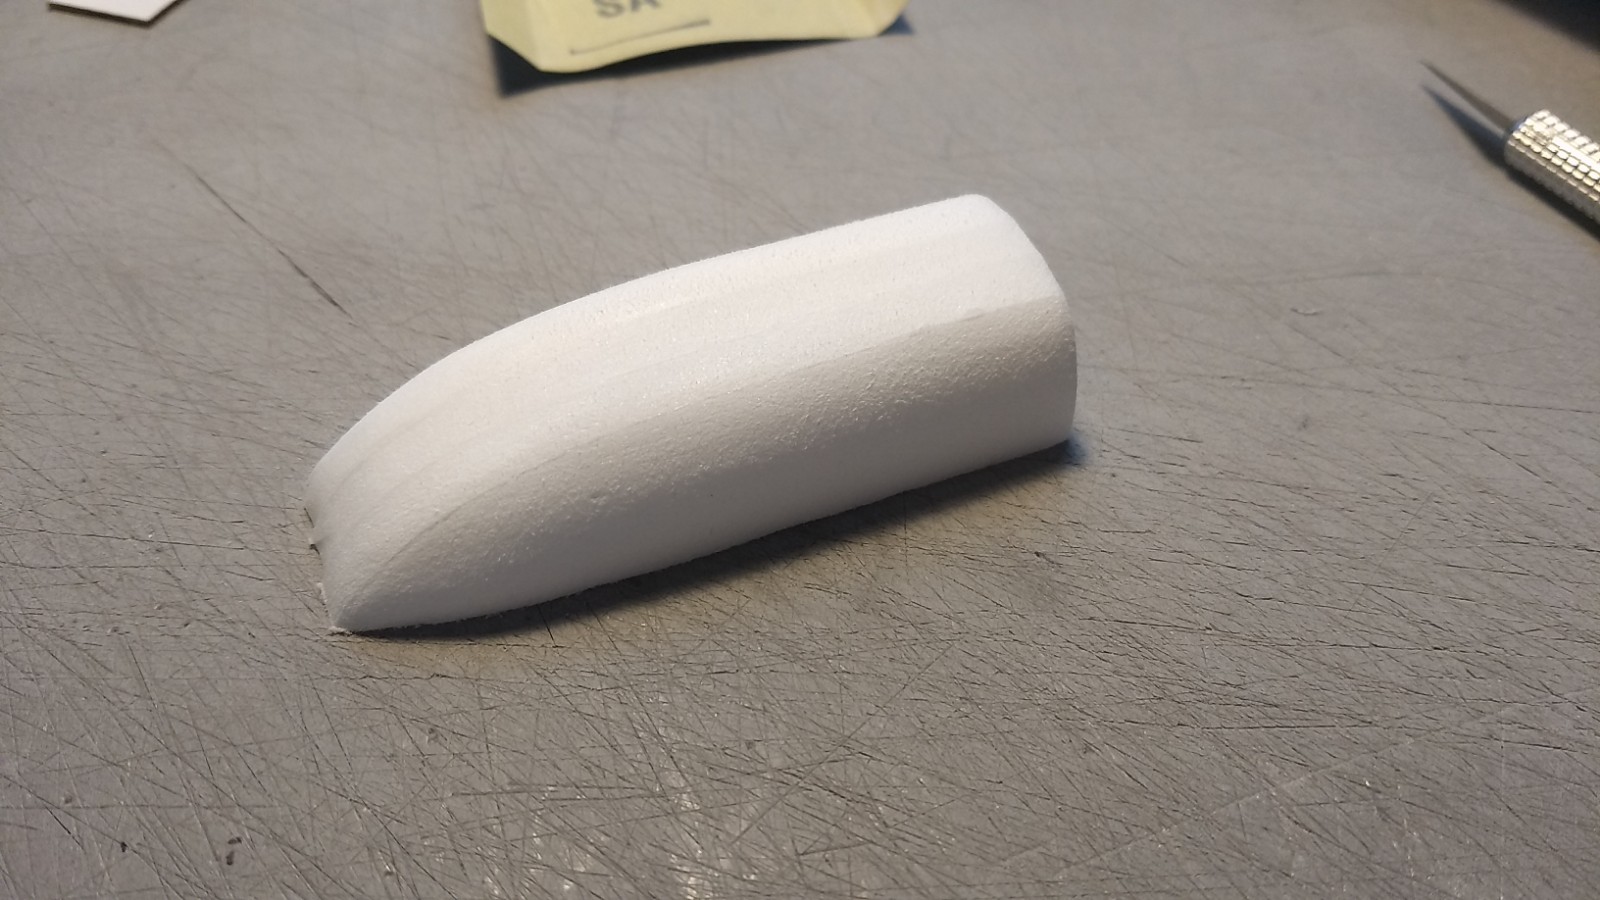
- Sand the shape round and taper the front as shown.
-
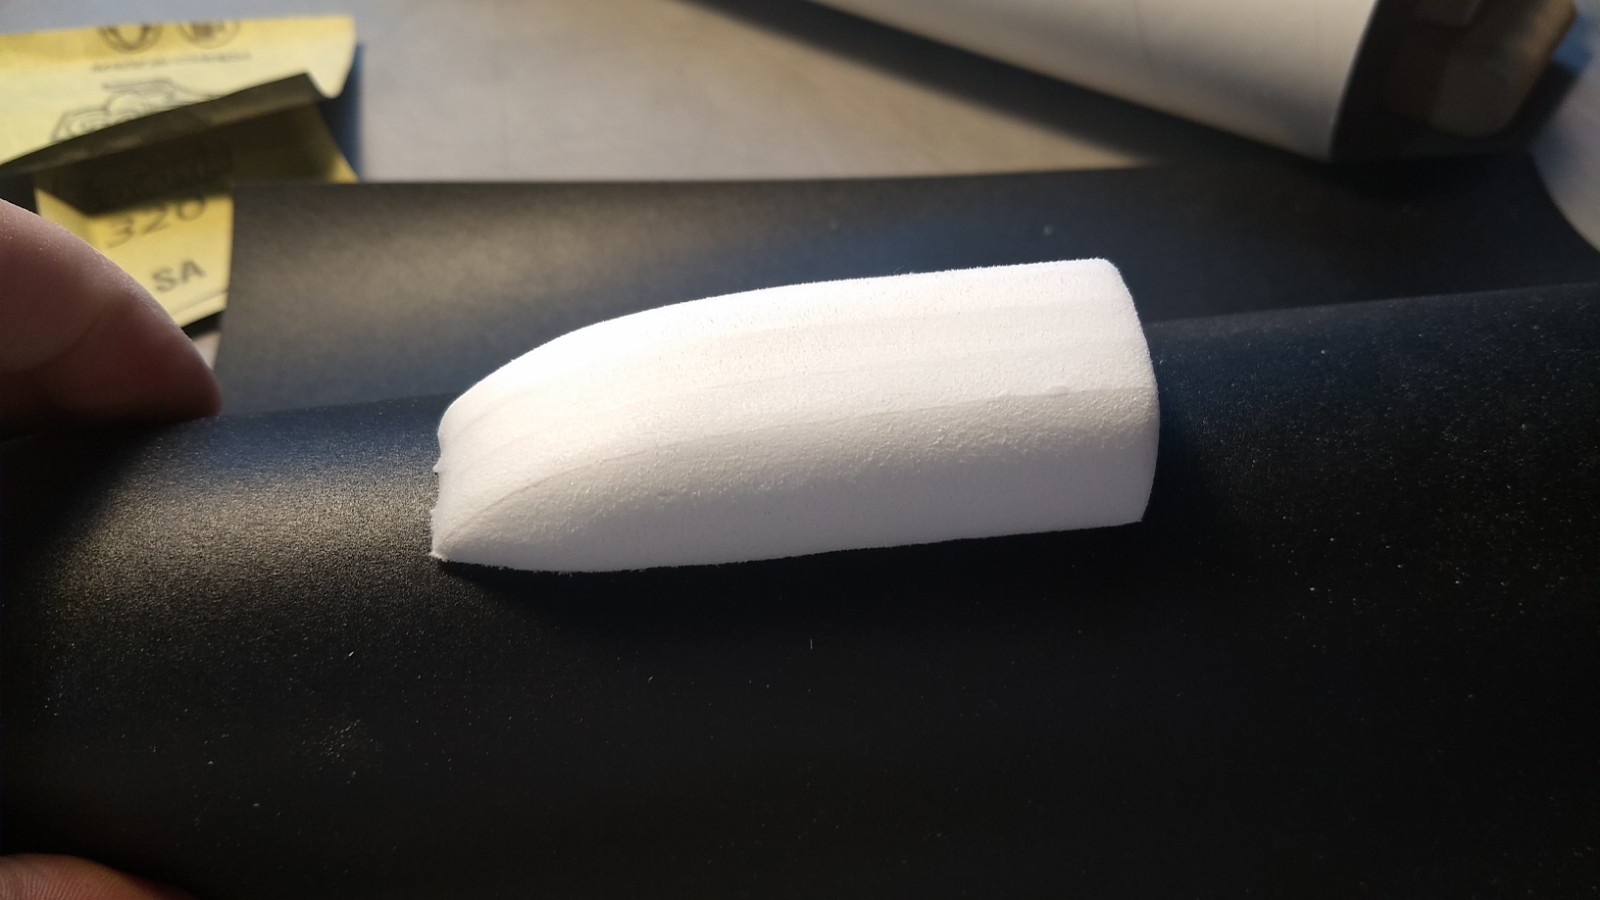
- wrap 220-320 sandpaper around the body tube and gently sand the bottom of the oms pod till it contours to the body tube shape.
-
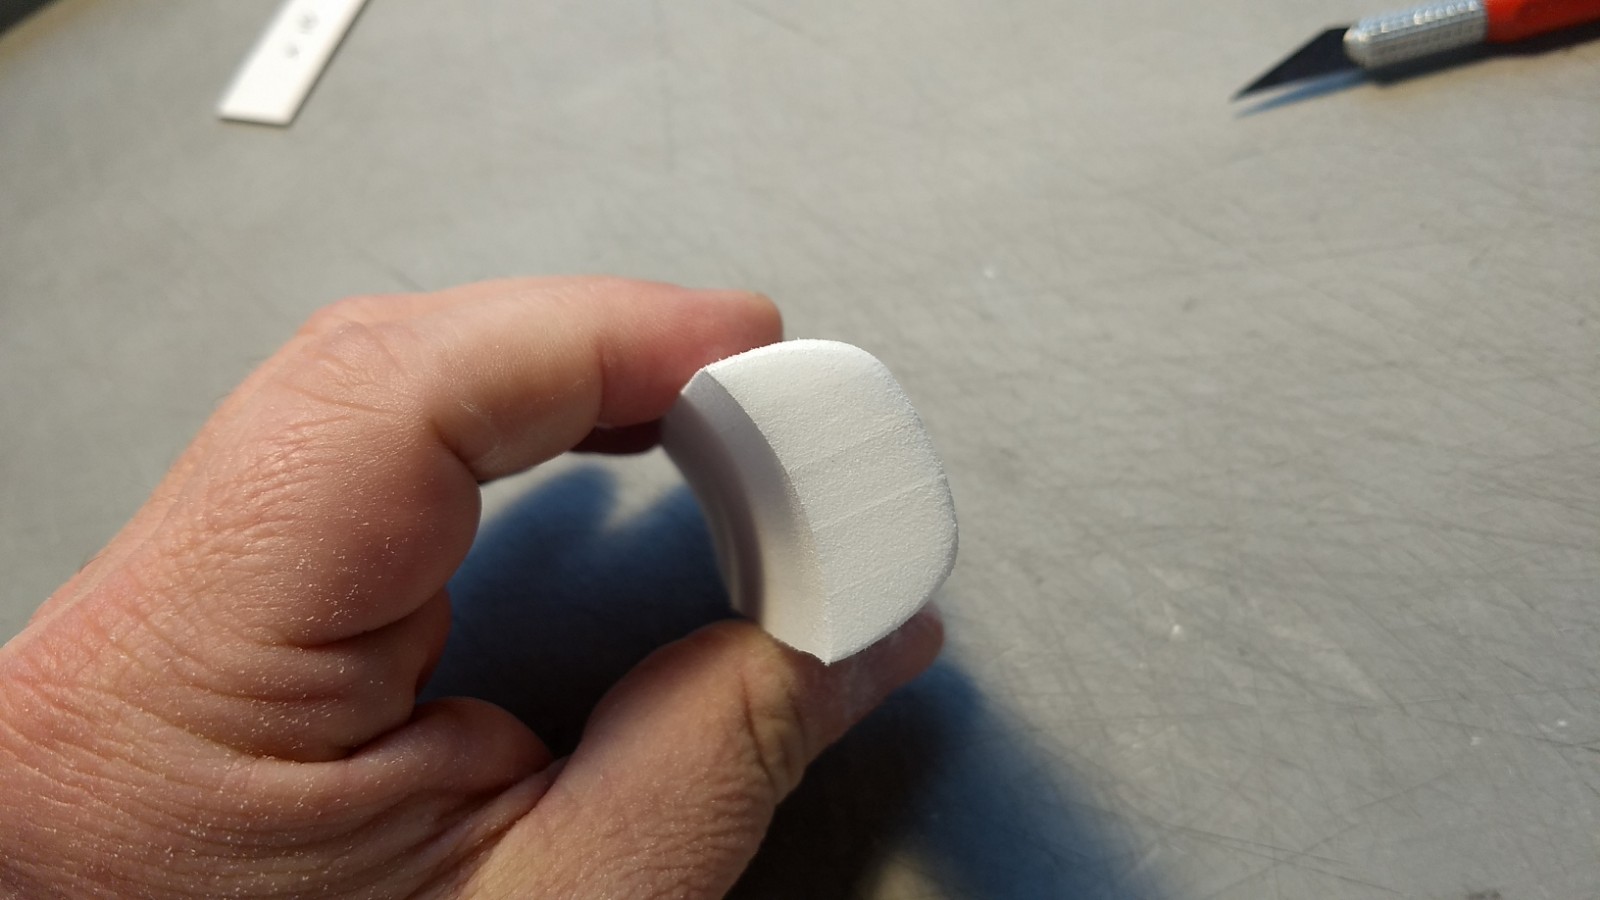
- Radius sanded into the oms pod then glue to the rear of each side of the shuttle
-
- Poke a hole into the front and rear of the wing in line with the pre-punched body tube holes, Glue plastic reinforcing disk onto bottom of front and rear of wing and install rail buttons.
-
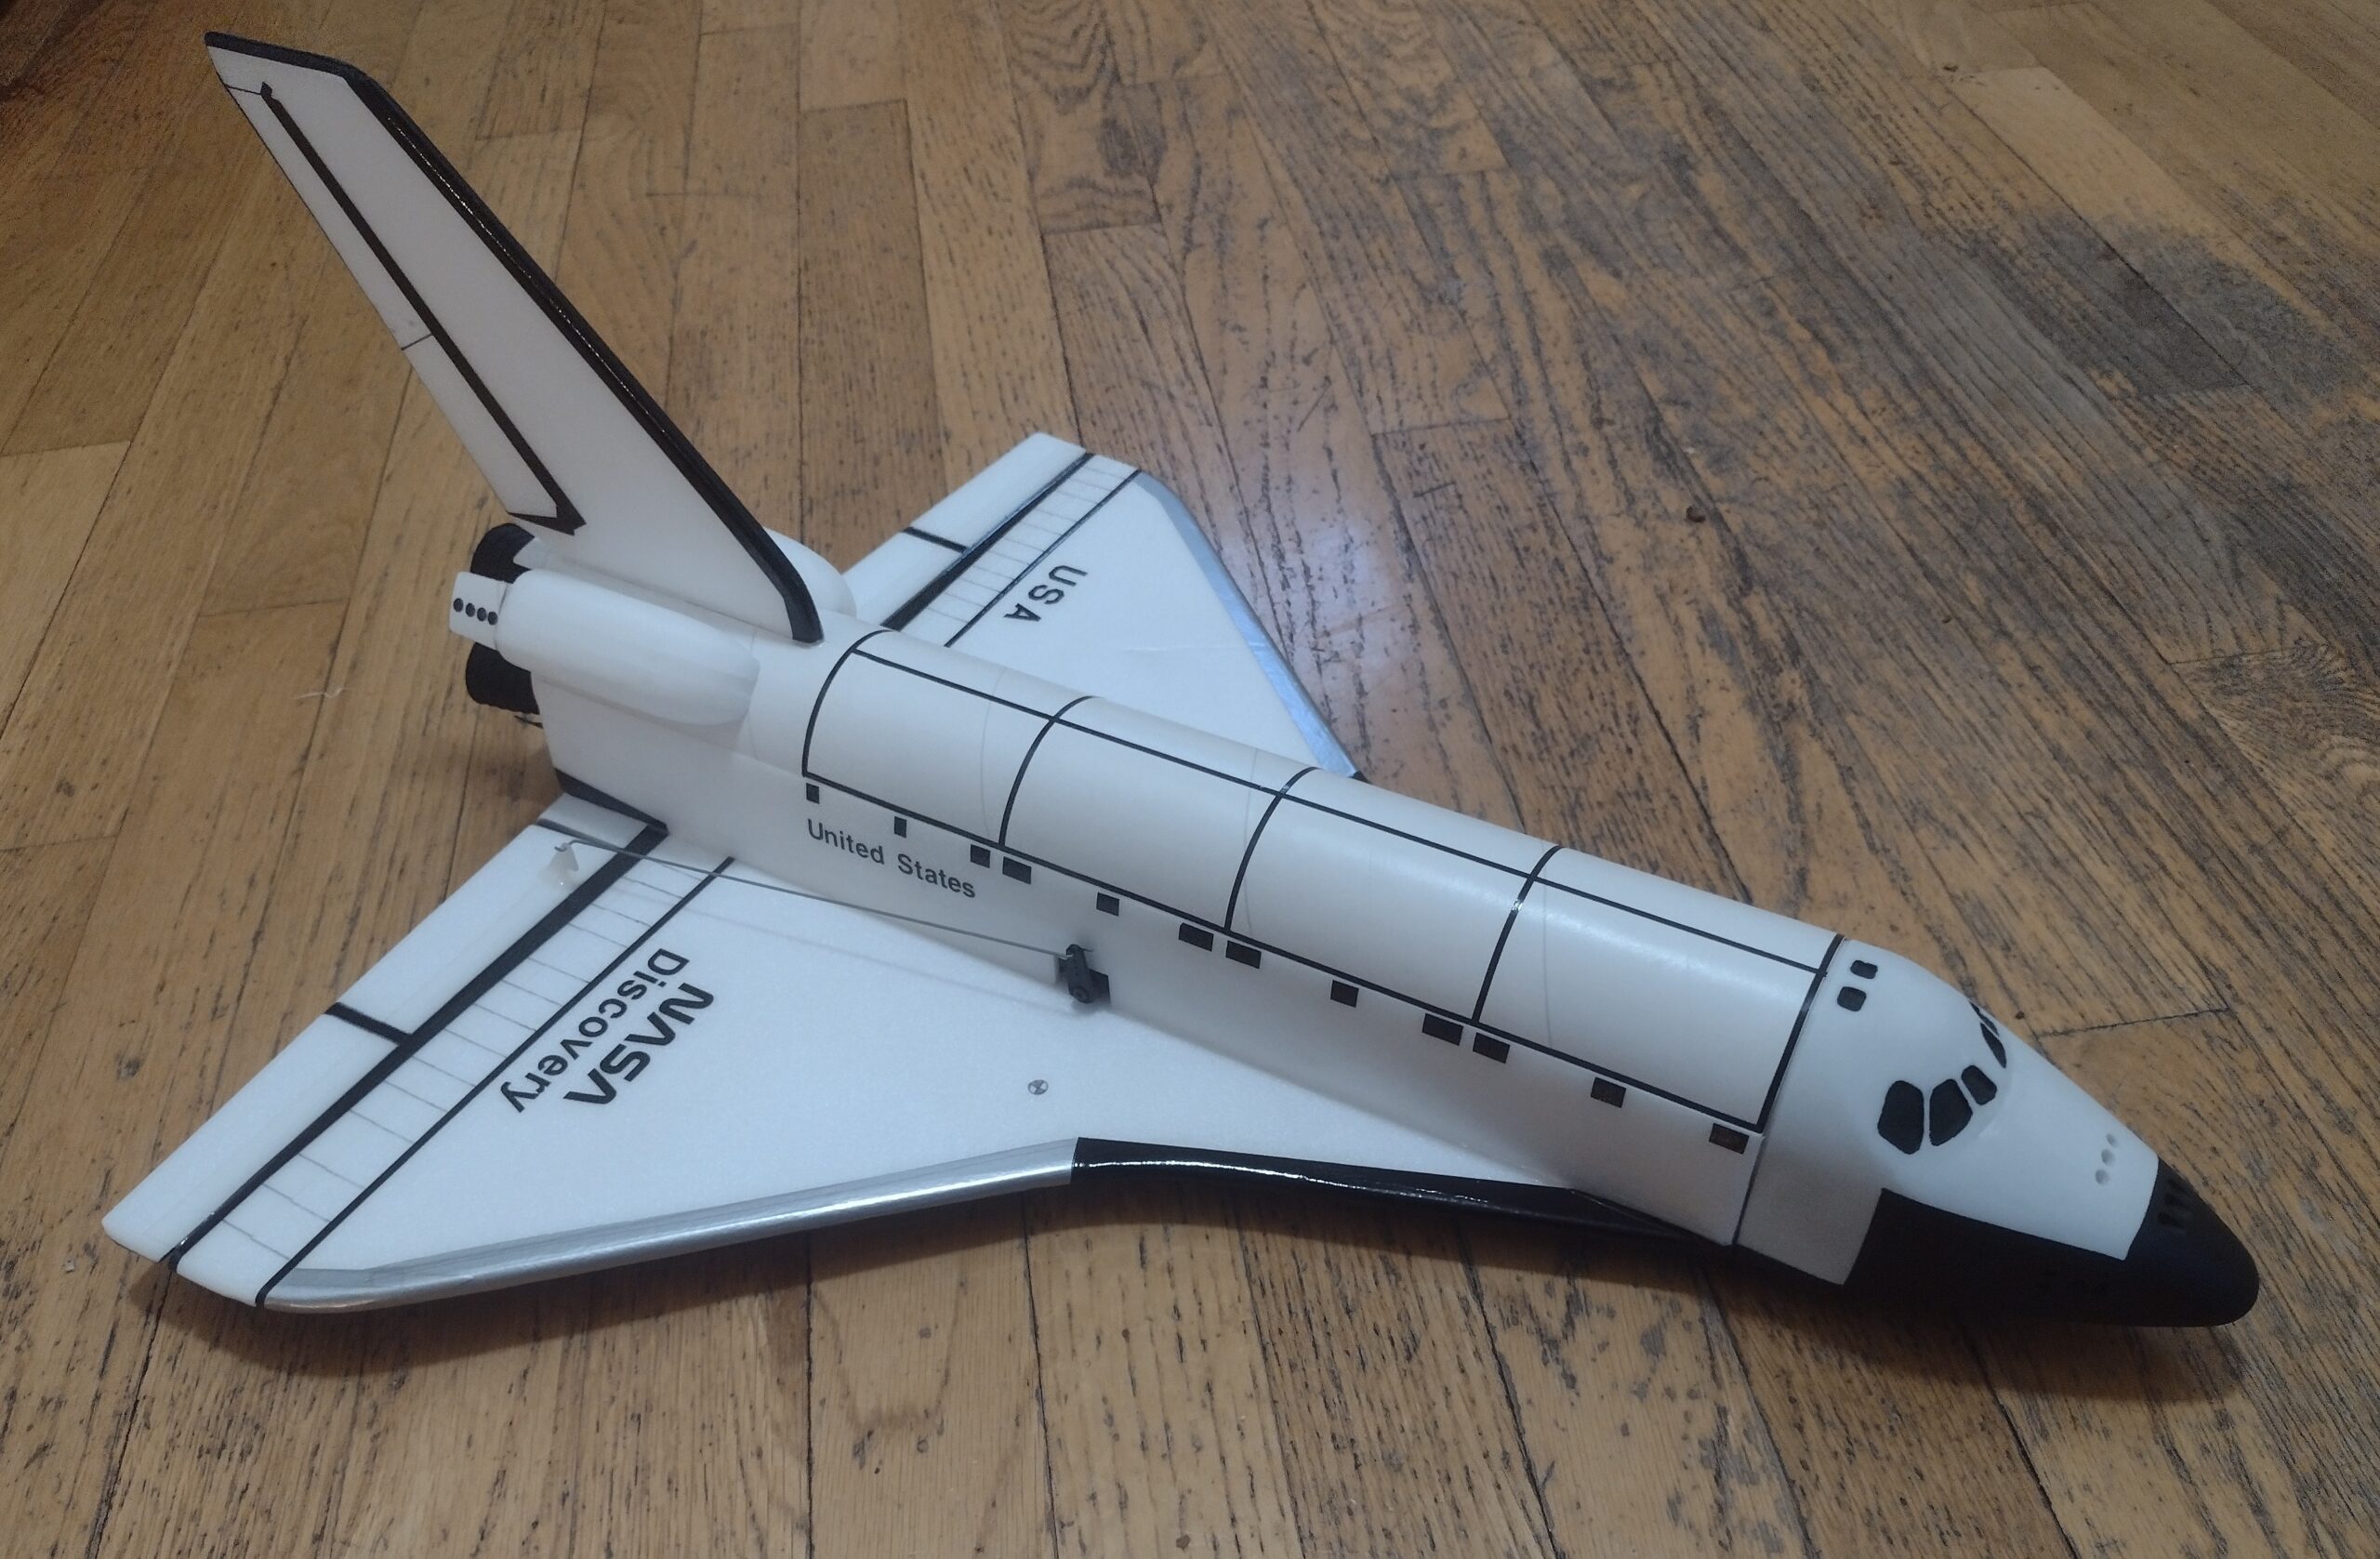
- Completed model with bottom mounted rail buttons, OMS pods and Boyce Nose cone and display nozzles.